Table of contents
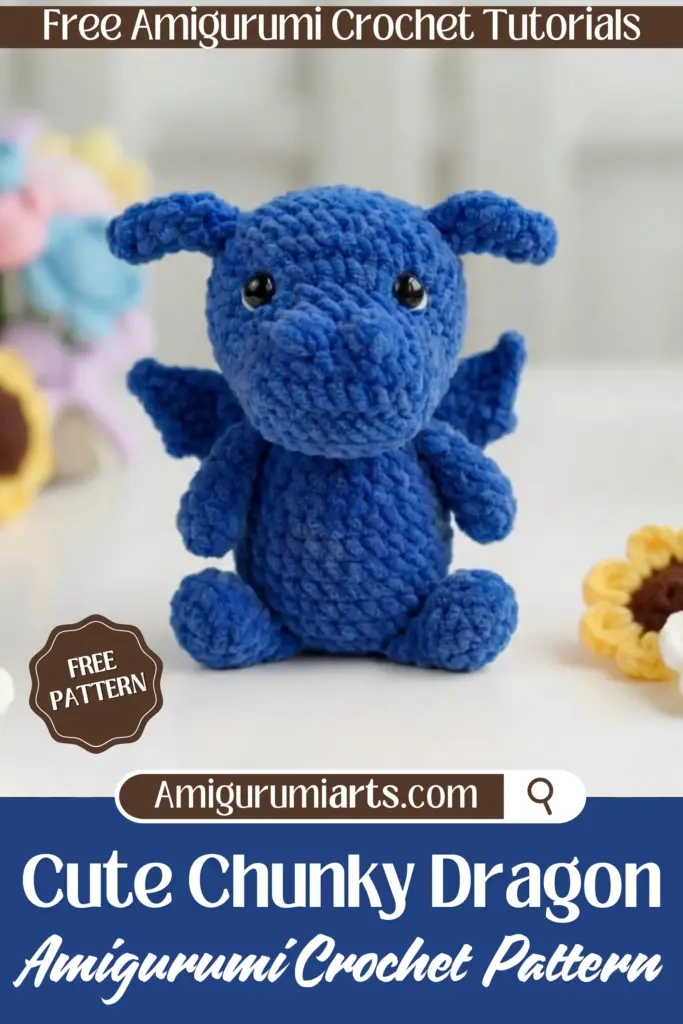
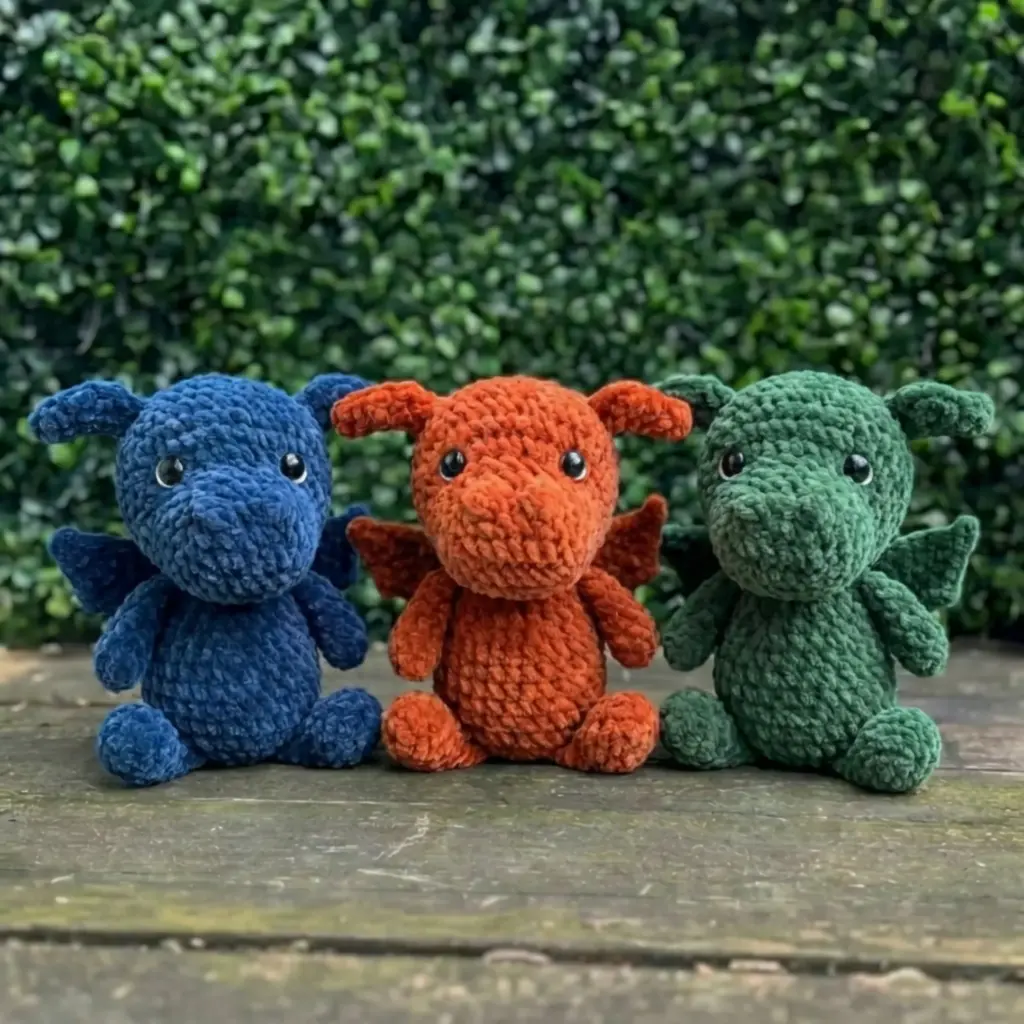
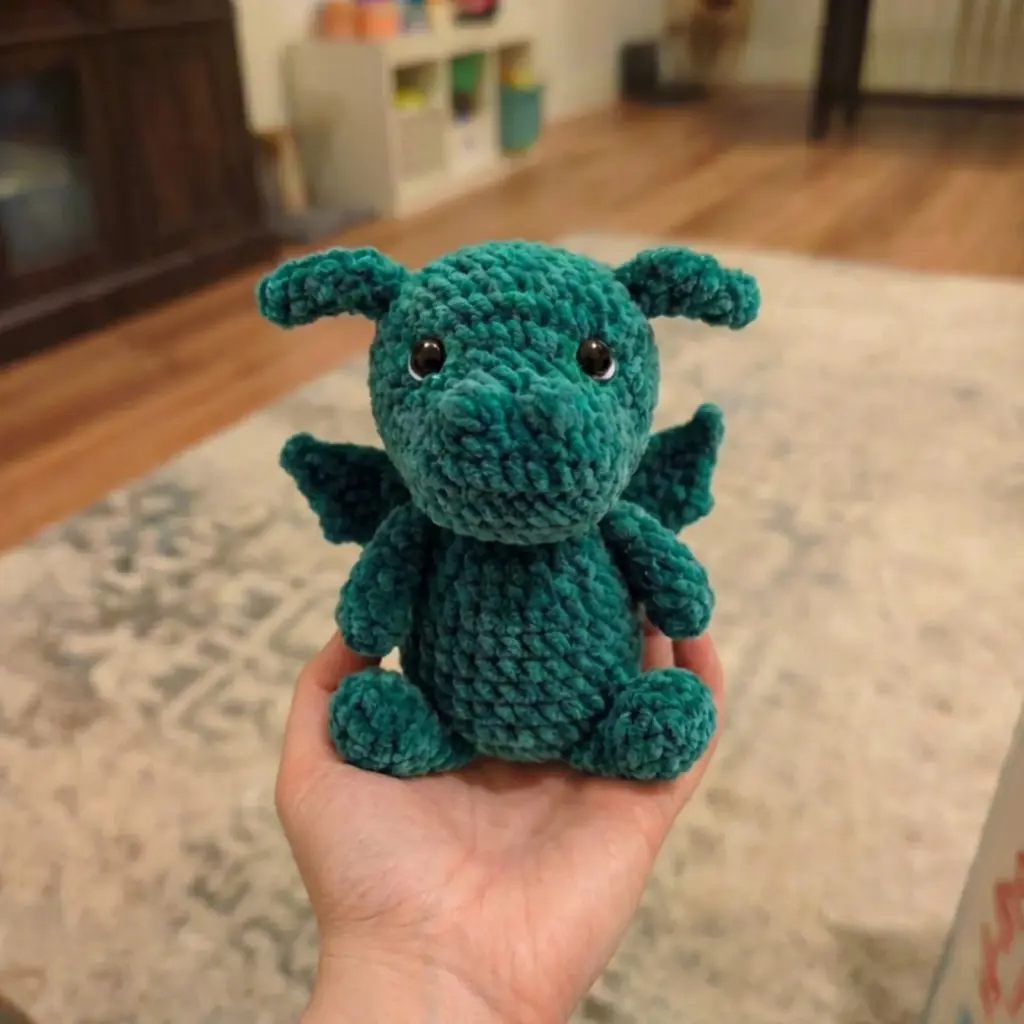
Looking for an adorable amigurumi project that works up quickly? This chunky dragon pattern is the perfect combination of cuteness and simplicity! Using bulky weight yarn, this plushie comes together faster than traditional amigurumi while still maintaining that lovable, squishy texture everyone adores. Whether you’re making it for yourself or as a gift, this charming dragon with its curved tail, delicate wings, and sweet bobble-stitch nose details is sure to bring smiles.
The pattern uses basic crochet stitches with just a touch of shaping to create those adorable dragon features. The chunky yarn means you’ll have a finished dragon in no time, making this an ideal project for crafters who want satisfying results without weeks of work.
Pattern by didisplushies
Materials You’ll Need
Before you begin your dragon adventure, gather these supplies:
- Yarn: Weight 6 bulky yarn (Himalaya Dolphin Baby recommended) in lavender or your choice of color – you’ll need slightly less than 1 skein
- Hook: 5mm crochet hook
- Eyes: 16mm safety eyes
- Stuffing: Fiberfill for stuffing
- Notions: Scissors and yarn needle for assembly
Pro Tip: While this pattern uses a single color throughout, feel free to experiment with different colors for the body, wings, and other details to create your own unique dragon!

Ready to Start Stitching?
Don’t lose this pattern! Pin it to your favorite crochet board and save it for your next cozy afternoon of making.
Abbreviations Guide
- R – Round/Row
- MR – Magic ring
- sc – Single crochet
- inc – Increase
- dec – Decrease
- st – Stitch
- slst – Slip stitch
- FO – Fasten off
- BOB – Bobble stitch (5 loops on hook)
- ch – Chain
Important Note: This pattern is worked in continuous rounds unless otherwise stated.
Instructions
Head
The head is worked on both sides of the foundation chain to create the dragon’s snout.
R1: ch9, starting in second chain from the hook, sc7, sc3 in the last stitch of the row, sc6, inc (18)
R2: inc, 7sc, 2inc, 7sc, inc (22)
R3: 3sc, BOB, 2sc, BOB, 15sc (22)
R4: sc, inc, 8sc, inc, sc, inc, 8sc, inc (26)
R5: sc around (26)
Important: Make sure that the increases in R6 line up centered at the top of the head. You may have to adjust your stitches.
R6: 2sc, 9inc, 15sc (35)
R7: 1sc, inc, 5sc, inc, 6sc, inc, 5sc, inc, 14sc (39)
R8-11: sc around (39) – 4 rounds
Eye Placement: Place eyes between R6 and R7 with 6 visible stitches in between.
R12: 1sc, dec, 5sc, dec, 6sc, dec, 5sc, dec, 14sc (35)
R13: (5sc, dec) x5 (30)
R14: sc around (30)
Begin stuffing the head.
R15: (4sc, dec) x5 (25)
R16: (3sc, dec) x5 (20)
Stuff firmly.
R17: (2sc, dec) x5 (15)
R18: (sc, dec) x5 (10)
FO, close the hole and weave in the ends.
Body
R1: 8sc in MR
R2: (inc) x8 (16)
R3: (sc, inc) x8 (24)
R4: (3sc, inc) x6 (30)
R5-10: sc around (30) – 6 rounds
R11: (3sc, dec) x6 (24)
R12: sc around (24)
R13: (2sc, dec) x6 (18)
FO, leaving a long yarn tail for sewing. Stuff the body.
Ears (make 2)
R1: 4sc in MR
R2: sc around (4)
R3: sc, 2inc, sc (6)
R4: dec, 2inc, dec (6)
R5-6: inc, 2dec, inc (6) – 2 rounds
FO, leaving a long yarn tail for sewing. Leave the ears unstuffed.
Arms (make 2)
R1: 6sc in MR
R2: (sc, inc) x3 (9)
R3-4: sc around (9) – 2 rounds
Stuff lightly.
R5: (sc, dec) x3 (6)
R6-7: sc around (6) – 2 rounds
Fold in half and sc3 across to close. FO, leaving a long yarn tail for sewing.
Legs (make 2)
R1: 6sc in MR
R2: Inc around (12)
R3-4: sc around (12) – 2 rounds
Stuff lightly.
R5: (sc, dec) x4 (8)
R6-7: sc around (8) – 2 rounds
Fold in half and sc4 across to close. FO, leaving a long yarn tail for sewing.
Tail
R1: 3sc in MR
R2: inc, 2sc (4)
R3: sc around (4)
R4: 2inc, 2sc (6)
R5: sc around (6)
R6: sc, 2inc, 3sc (8)
R7: 2sc, 2inc, 4sc (10)
FO, leaving a long yarn tail for sewing. Leave the tail unstuffed or lightly stuff the base of the tail.
Wings (make 2)
Worked in rows. The ch1 at the end of the rows does not count as a stitch.
R1: ch4, starting in the second chain from the hook, sc2, inc, ch1 and turn (4)
R2: 4sc, ch2 and turn (5)
R3: starting in the second chain from the hook, 4sc, inc, ch1 and turn (6)
R4: dec, sc, dec, leave the last stitch unworked, ch1 and turn (3)
R5: sc, dec, ch1 and turn (2)
R6: dec, ch2 and turn (2)
R7: starting in the second chain from the hook, 2slst (2)
FO, leaving a long yarn tail for sewing.
Optional: If you want your dragon to have horns or spikes, look for dino modifications available online for additional details.
Assembly Instructions
Follow these steps to bring your dragon to life:
- Attach the Head: Sew the head securely to the body.
- Add the Ears: Sew the ears between R10-11 with 10 visible stitches in between.
- Position the Arms: Sew the arms right below the neck, with 6-7 visible stitches in between.
- Attach the Legs: Sew the legs between R3 and 4, with 3-4 visible stitches in between.
- Secure the Tail: Sew the tail onto rows 4-7 of the body. Make sure that the increases of R7 are facing upwards – this will ensure that the tail curves the correct way.
- Add the Wings: Bring your yarn tail out to the base of the wing and sew the wings between R10-12 of the body, leaving 6-7 stitches between them.
Frequently Asked Questions
While this pattern is designed for weight 6 bulky yarn, you can use different yarn weights with an appropriately sized hook. Keep in mind that using thinner yarn will result in a smaller dragon, while thicker yarn will make a larger one. Adjust your hook size accordingly to maintain proper tension.
A bobble stitch (BOB) is created by working 5 incomplete double crochets in the same stitch, leaving the last loop of each on your hook until you have 5 loops total, then yarn over and pull through all loops at once. This creates a textured, bumpy effect perfect for adding dimension to your dragon’s head.
Make sure you’re placing the safety eyes correctly between R6 and R7 with 6 visible stitches between them, as this helps maintain symmetry. Stuff firmly and evenly, adjusting the fiberfill as needed. The increases in R6 should line up centered at the top of the head, so you may need to adjust your stitch placement.
Yes! The original pattern designer mentions a dino mod that includes instructions for adding horns or spikes. You can also create simple cone-shaped pieces using magic rings and gradual increases, then sew them to the head or along the back for a custom dragon look.
Final Thoughts
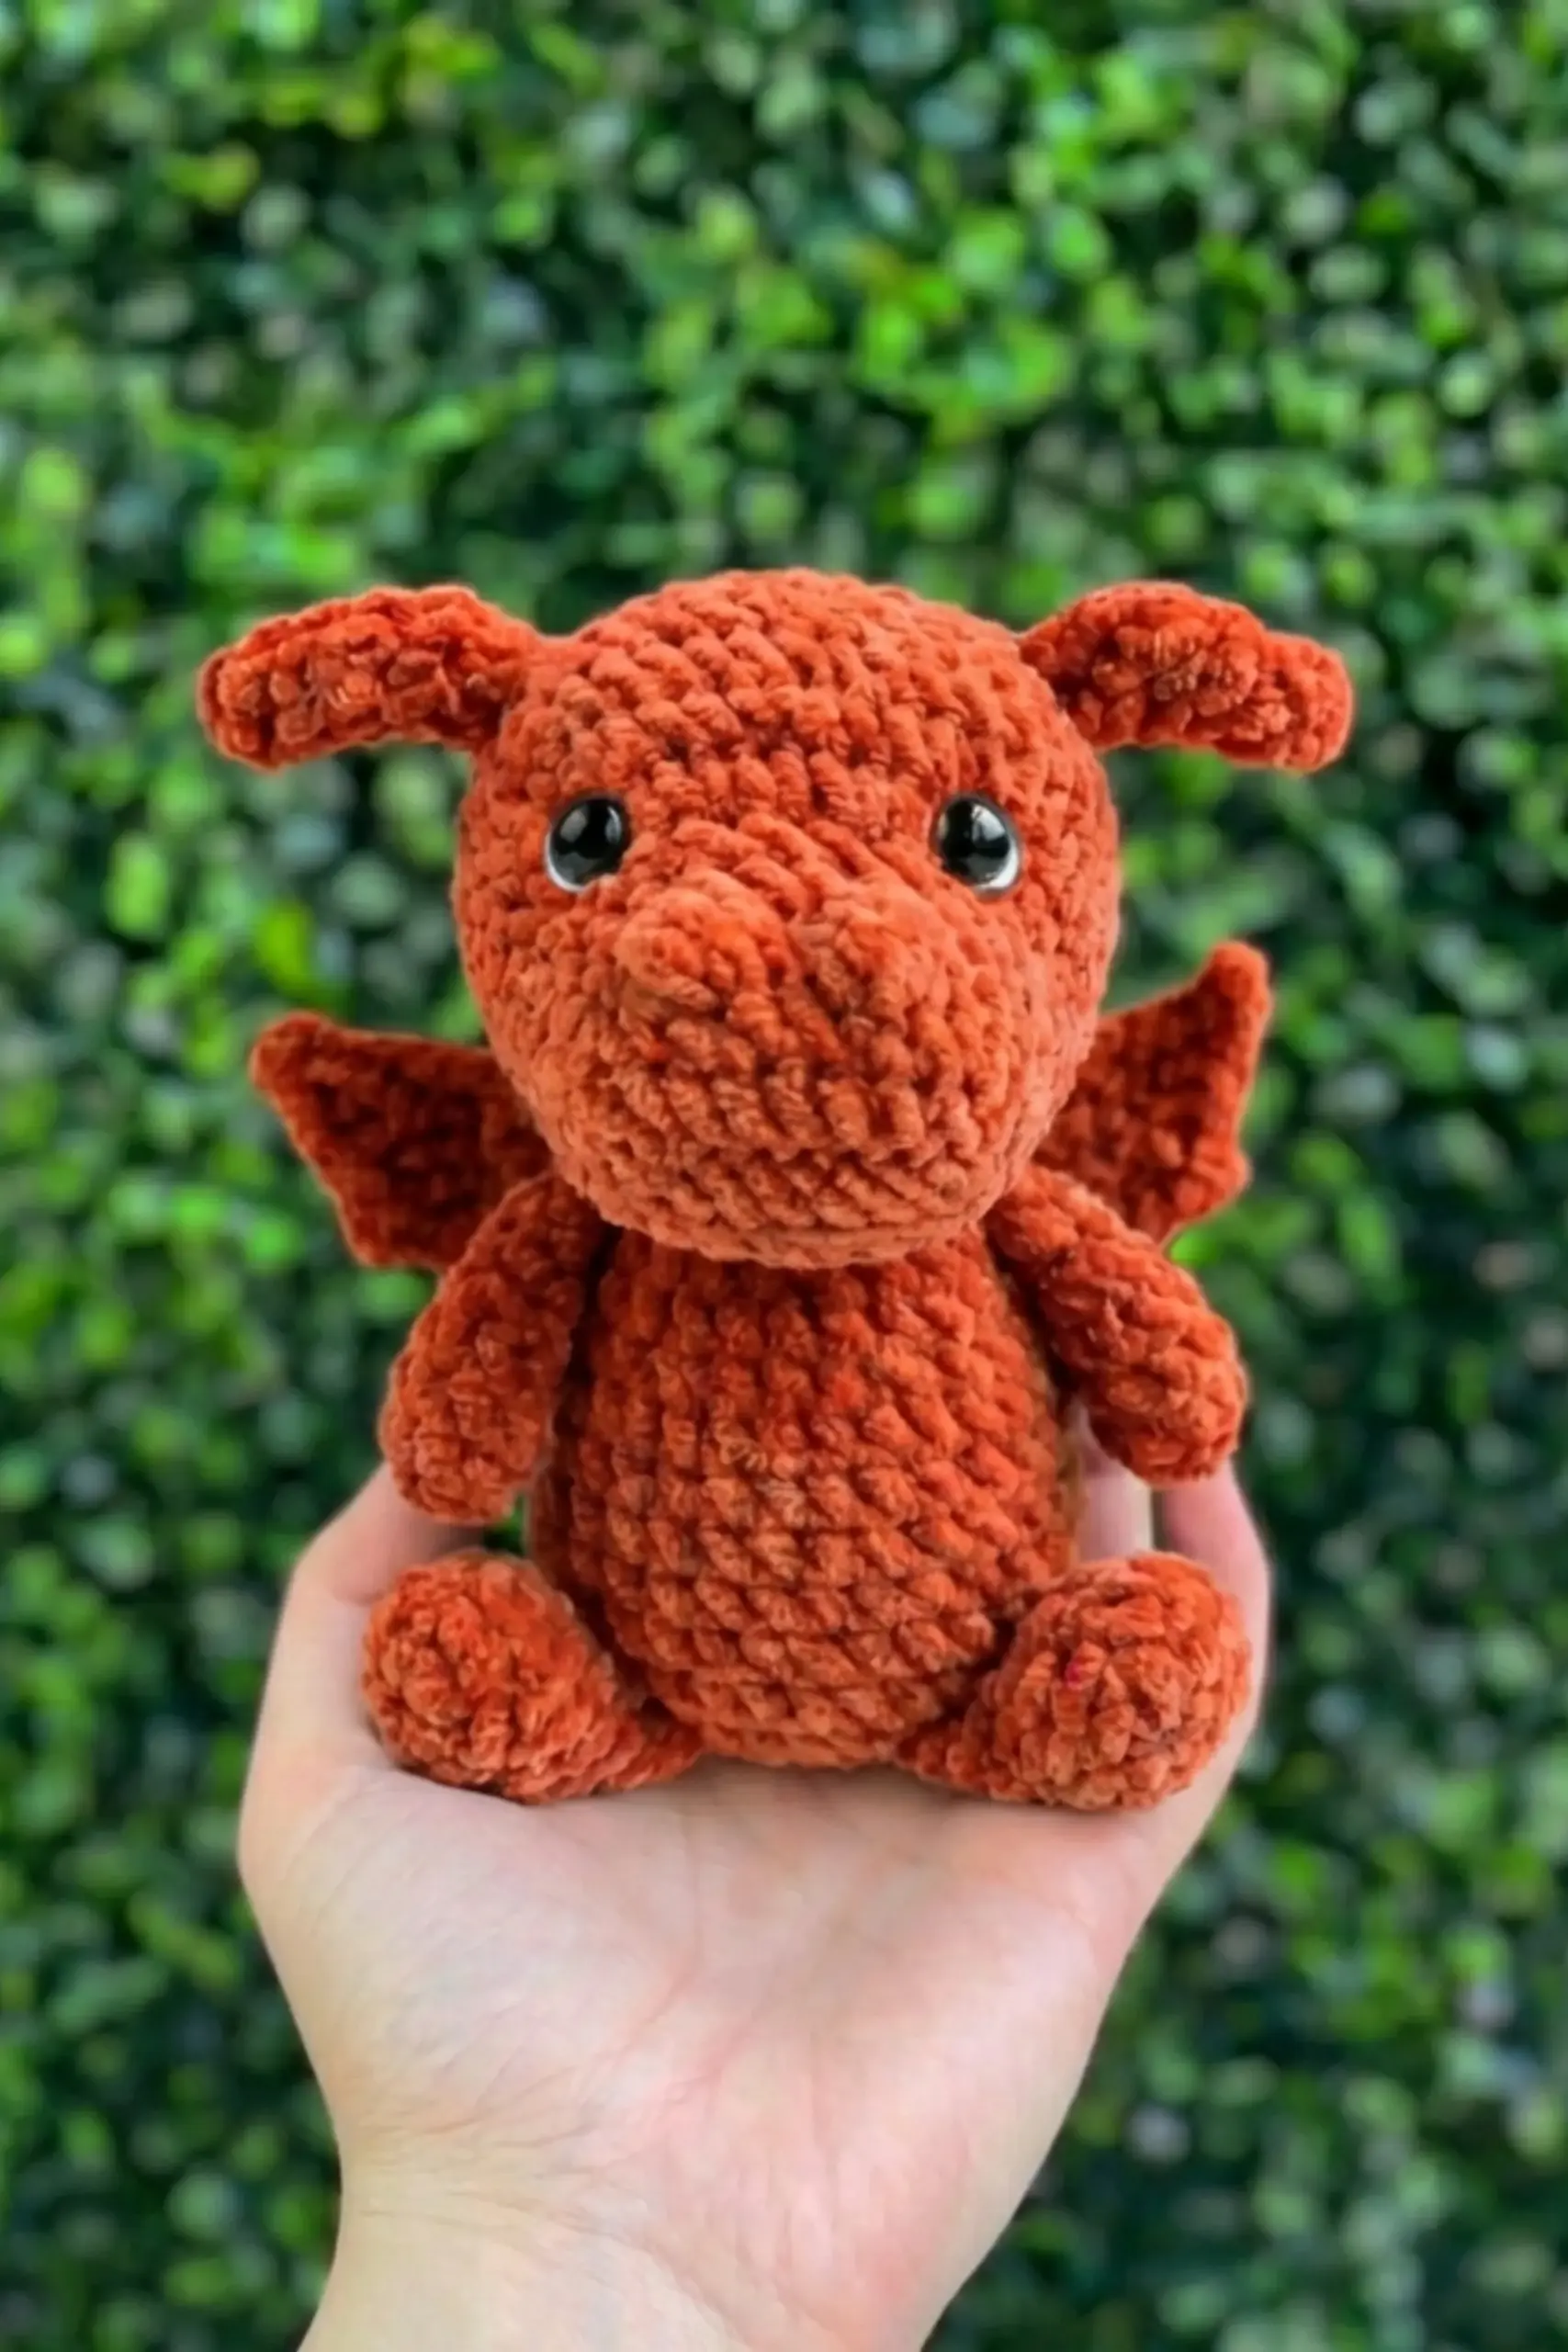
Congratulations! You’ve completed your chunky dragon plushie! This versatile pattern is perfect for gift-giving, nursery decor, or simply adding to your own collection of handmade treasures. The beauty of working with bulky yarn is that you get a substantial, huggable result in a fraction of the time it takes to make traditional amigurumi.
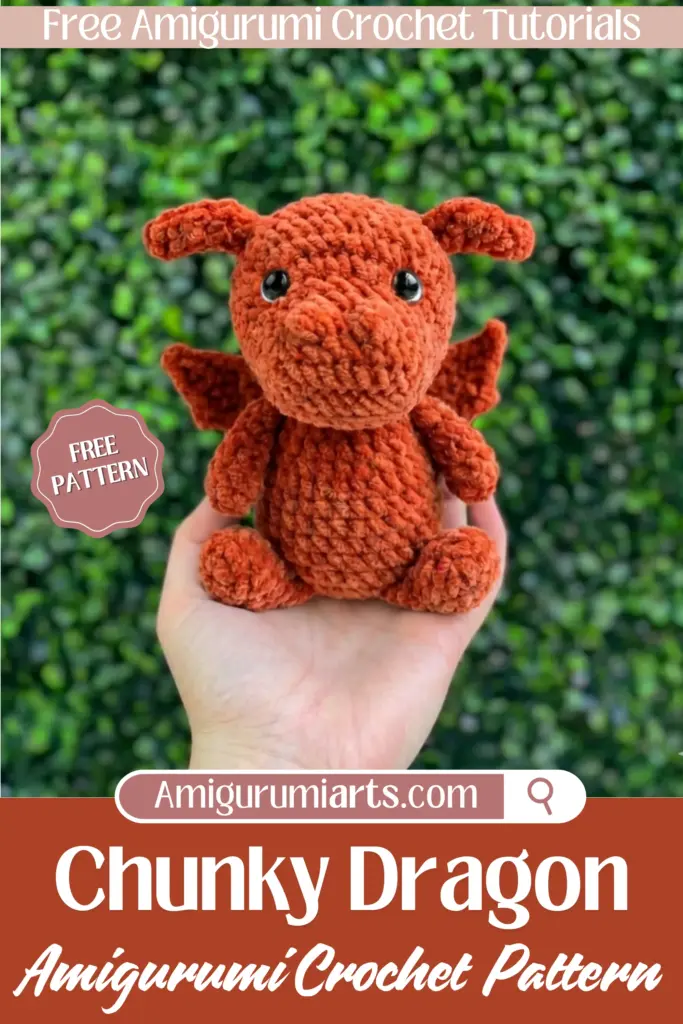
Don’t be afraid to make this pattern your own by experimenting with different color combinations – try a fiery red dragon, a mystical blue one, or even a rainbow dragon with multicolored yarn! Each dragon you create will have its own unique personality.
Share your finished dragons on social media and connect with other crocheters who have brought this pattern to life. Happy crocheting, and may your dragon bring joy wherever it goes!
You’ll Love Also This

Ready to Start Stitching?
Don’t lose this pattern! Pin it to your favorite crochet board and save it for your next cozy afternoon of making.