
Table of contents
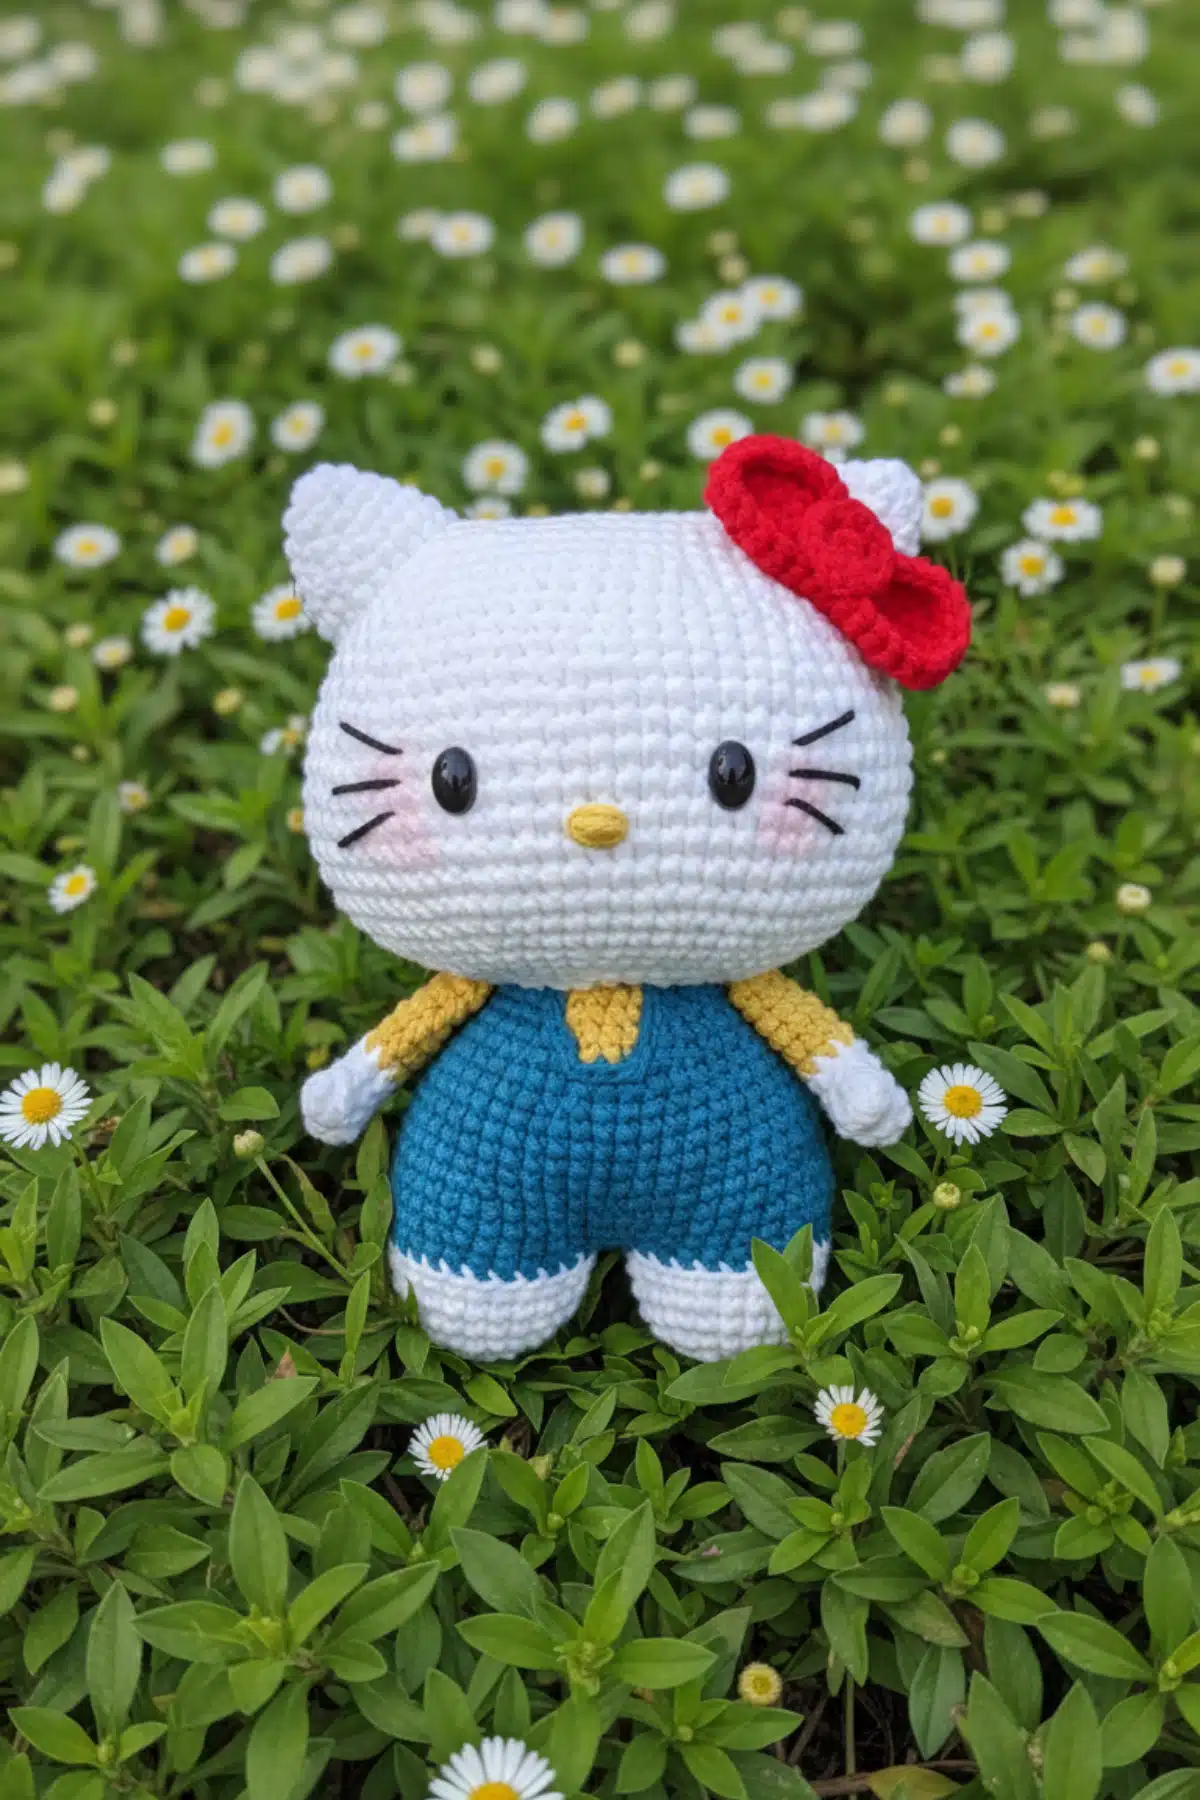
There’s a special magic in creating something with your own hands, and when that creation is as beloved as Hello Kitty, the joy is simply multiplied! Imagine a charming, handcrafted Hello Kitty, complete with her signature bow and even a tiny teddy bear friend. This pattern invites you to bring that adorable vision to life, whether you’re a seasoned crocheter looking for a delightful project or a keen beginner ready to expand your skills.
This pattern is designed to guide you through each stitch, resulting in a sweet amigurumi companion that’s perfect for gifting, decorating, or simply cuddling. Let’s gather our supplies and embark on this heartwarming creative journey!
Materials
- White yarn
- Navy blue yarn
- Yellow yarn
- Red yarn
- Black embroidery thread
- Crochet hook (size adapted to yarn)
- Fiberfill stuffing
- Stitch marker
- Needle
Abbreviations
- X = Single crochet
- V = Increase
- A = Decrease
- BLO = Back loop only
- MR = Magic ring
- POP = Popcorn stitch
- CH = Chain
Head
- R1: 15 CH, turn, V, 12X, (4X), 12X, V (30)
- R2: 2V, 12X, 4V, 12X, 2V (40)
- R3: X, V, 16X, V, 2X, V, 16X, V, X (44)
- R4: 44X (44)
- R5: 2X, V, 16X, V, 4X, V, 16X, V, 2X (48)
- R6: 48X (48)
- R7: (7X, V) ×6 (54)
- R8: 54X (54)
- R9: (V, 6X) ×4, (V, 12X) ×2 (60)
- R10: 60X (60)
- R11: (V, 7X) ×4, (V, 13X) ×2 (66)
- R12: 66X (66)
- R13: (V, 8X) ×4, (V, 14X) ×2 (72)
- R14: 72X (72)
- R15: (17X, V) ×4 (76)
- R16: 76X (76)
- R17: (18X, V) ×4 (80)
- R18– R19: 80X (80)
- R20: (8X, A) ×8 (72)
- R21: (10X, A) ×6 (66)
- R22: (9X, A) ×6 (60)
- R23: (8X, A) ×6 (54)
- R24: (7X, A) ×6 (48)
- R25: BLO (2X, A) ×12 (36)
- R26: (4X, A) ×6 (30)
Insert safety eyes between R15– R16, 12 stitches apart. Embroider nose and mouth with black yarn.
Ears (Make 2 – White)
- R1: MR 6X (6)
- R2: (X, V) ×3 (9)
- R3: (2X, V) ×3 (12)
- R4: (3X, V) ×3 (15)
- R5: (4X, V) ×3 (18)
- R6: 2X, V, (5X, V) ×2, 3X (21)
- R7: 21X (21)
Do not stuff. Sew ears to the head.
Legs (Make 2 – White)
- R1: MR 8X (8)
- R2: 8V (16)
- R3: (X, V) ×8 (24)
- R4– R7: 24X (24)
Change to navy blue
- R8: BLO 24X (24)
Second leg: do not cut yarn. Join with first leg and stuff both.
Body
- R9: 24X (first leg) + 24X (second leg) (48)
- R10: (7X, V) ×6 (54)
- R11– R12: 54X (54)
- R13: (7X, A) ×6 (48)
- R14– R17: 48X (48)
- R18: (6X, A) ×6 (42)
- R19: 42X (42)
Change to yellow
- R20: (5X, A) ×3, 3X, 2X, A, (5X, A) ×2 (36)
- R21: 18X, 4X, 14X (36)
- R22: (4X, A) ×3, 4X, A, (4X, A) ×2 (30)
- R23: 15X, 5X, 10X (30)
Stuff evenly and sew body to head.
Bow
- R1: 10 CH, turn, 2CH, V, 7X, (4X), 7X, V (22)
- R2: 2V, 7X, 4V, 7X, 2V (30)
- R3: X, V, 11X, V, 2X, V, 11X, V, X (34)
- R4: 34X (34)
Bow Center
- R1: MR 6X (6)
- R2: 6V (12)
Wrap yarn around center and sew to bow.
Arms (Make 2 – White)
- R1: MR 5X (5)
- R2: 5V (10)
- R3: 10X (10)
- R4: X, POP, 8X (10)
- R5– R6: 10X (10)
Change color
- R7– R12: 10X (10)
Stuff lightly and sew on both sides of body.

Frequently Asked Questions
This pattern is suitable for crocheters from ambitious beginners to intermediate levels. It uses common amigurumi techniques like single crochet, increases, and decreases, along with a popcorn stitch.
Absolutely! You can experiment with different yarn weights and corresponding hook sizes. Keep in mind that this will alter the final size of your Hello Kitty, so adjust your hook to maintain tight stitches and avoid stuffing showing through.
To achieve a smooth and firm finish, stuff your amigurumi gradually, adding small amounts of fiberfill at a time. Use a blunt tool or the back of your crochet hook to push stuffing into smaller areas like the ears and arms, ensuring there are no lumps or empty spots.
After inserting the safety eyes, use black embroidery thread for the nose and mouth. Refer to classic Hello Kitty images for placement – her nose is typically a small oval or dash, and she’s famously mouth-less, but this pattern includes a simple embroidered mouth for character.
We hope you’ve enjoyed crafting your very own Hello Kitty with her sweet teddy bear! There’s a true sense of accomplishment in seeing your stitches come together to form such an iconic and beloved character. May your handmade creation bring a touch of joy and whimsy to your life or to the lucky recipient. Happy crocheting!