
Table of contents
Imagine capturing the everlasting beauty of a classic red rose in a handcrafted piece that will never wilt. This realistic red rose amigurumi pattern allows you to do just that, creating a stunning crochet flower designed to mimic nature’s perfection. With its gracefully layered petals, elegant green stem, and delicate leaf, this project is more than just a craft—it’s a heartfelt expression. Whether you’re searching for a romantic handmade gift for Valentine’s Day, a cherished anniversary token, a unique wedding accent, or simply an elegant addition to your home décor, this rose is an ideal choice. It’s a beginner-friendly pattern that yields professional results, perfect for both passionate hobby crocheters and those looking to add a touch of handmade luxury to their shop.
A Closer Look at Your Rose
Color Palette
For the most authentic appearance, the recommended colors are a deep red or crimson for the rose petals, and a medium leaf green for the stem and calyx. For the leaf, a slightly lighter green can be achieved using the same yarn with a slightly different tension, adding subtle variation. The key to its realistic finish lies in the yarn texture—chenille or plush velvet yarn will give your rose a wonderfully soft and lifelike feel.
Finished Dimensions
- Total height: Approximately 30 cm (12 inches)
- Flower head: Approximately 6–7 cm (2.5 inches)
- Stem thickness: Approximately 1 cm (0.4 inch)
What You’ll Need
Materials
- Chenille / Plush Yarn:
- Red (for rose petals)
- Green (for stem, calyx, leaf)
- Crochet hook: 3.5 – 4 mm
- Fiberfill stuffing (small amount)
- Floral wire or wooden stick (for stem support)
- Yarn needle
- Scissors
- Stitch marker
- Hot glue (optional, for assembly stability)
Stitch Abbreviations
- MR – Magic Ring
- ch – chain
- sc – single crochet
- inc – increase
- dec – decrease
- sl st – slip stitch
- BLO – back loop only
- FLO – front loop only
Let’s Get Crocheting! The Pattern
PART 1: Inner Rose Bud (Red)
Round 1: MR 6
Round 2: inc x6 (12)
Round 3: (sc, inc) x6 (18)
Round 4: sc 18
Round 5: BLO sc 18
Fasten off.
This forms the tight center of the rose.
PART 2: Petal Layers (Red – Spiral Style)
Attach yarn to FLO from Round 5.
Layer 1:
(ch 2, 3 dc, ch 2, sl st) in each stitch small petals
Layer 2:
Behind previous layer, repeat with
(ch 2, 4 dc, ch 2, sl st) medium petals
Layer 3:
Final outer layer:
(ch 2, 5 dc, ch 2, sl st) large open petals
Gently curl petals outward with fingers for realism.
PART 3: Calyx (Green)
Round 1: MR 5
Round 2: sc 5
Create 5 pointed leaves:
(ch 3, sl st) in each stitch
Fasten off.
PART 4: Stem (Green)
- Round 1: MR 6
- Round 2– 30: sc 6 (long tube)
- Insert floral wire or wooden stick inside.
- Lightly stuff for firmness.
PART 5: Leaf (Green)
- Ch 7
- sc in 2nd ch
- hdc, dc, dc
- hdc, sc
- Continue on opposite side:
- sc, hdc, dc, hdc, sc
- Fasten off.
Bringing It All Together: Assembly Instructions
Bringing your beautiful rose to life is the most rewarding part! Follow these steps for a polished finish:
- Sew calyx under the rose head
- Attach rose head securely to stem
- Sew leaf to mid-stem (slightly angled)
- Shape petals gently by hand
Optional: A tiny drop of hot glue inside the flower base can provide extra strength and stability, ensuring your rose stands the test of time.
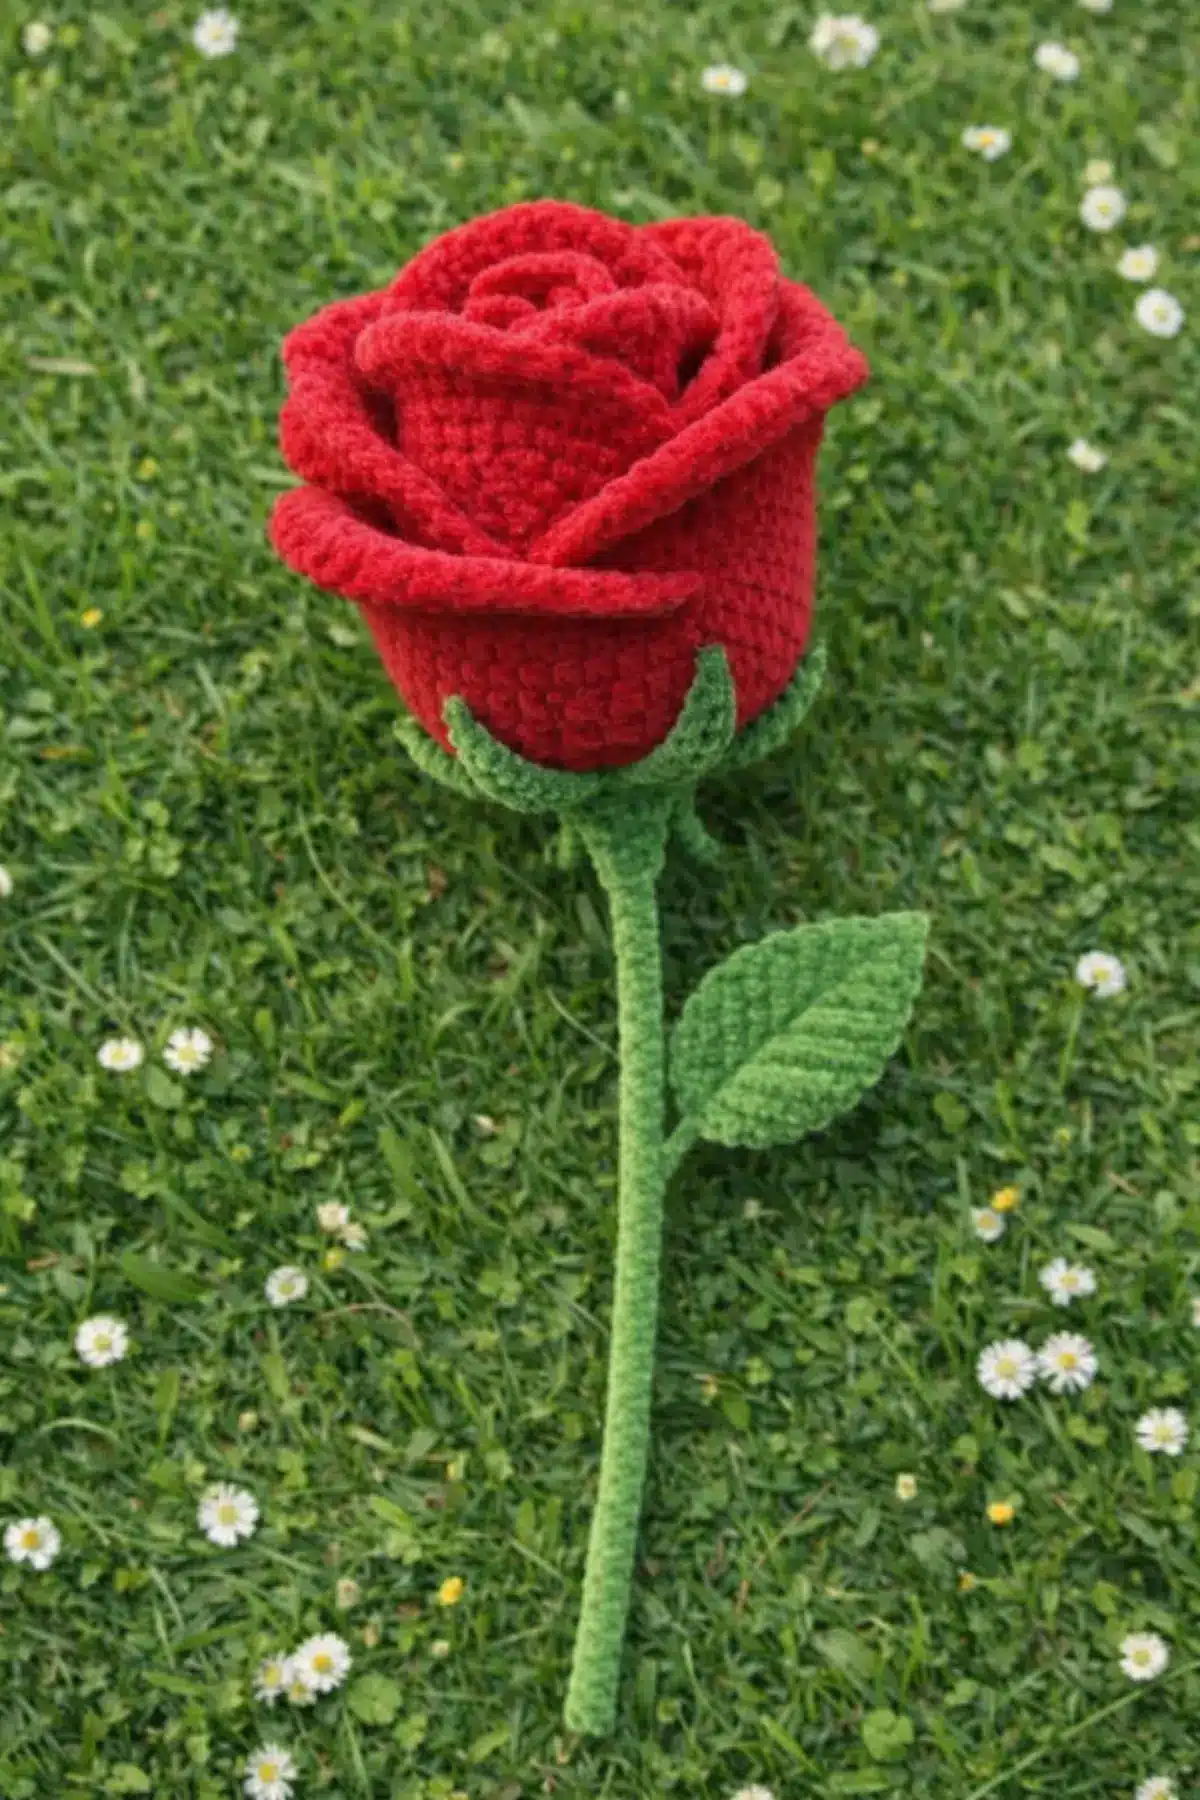
The Art of the Finished Piece
Your completed rose will boast a handmade plush texture with realistic proportions, exuding an elegant and clean finish. It’s designed to capture that soft, studio-lit aesthetic, matching the vibrant reference image perfectly. This timeless creation is absolutely perfect for:
- Thoughtful Valentine’s Day gifts
- Romantic handmade bouquets
- Charming wedding décor
- A beautiful addition to crochet shops & handmade marketplaces
Frequently Asked Questions
The pattern specifically recommends chenille or plush velvet yarn. This type of yarn gives the rose a soft, luxurious texture, enhancing its realistic appearance and making it delightful to touch.
To ensure a firm and stable stem, you should insert floral wire or a wooden stick inside the crocheted stem tube. Lightly stuffing the stem with fiberfill around the support will also add to its firmness and shape.
After crocheting the petal layers, gently curl each petal outward with your fingers. This simple shaping step is crucial for achieving the natural, open bloom look of a real rose and adds to the overall realism.
While the pattern provides specific dimensions for a ~30 cm rose, you can adjust the finished size by using a different yarn weight and corresponding hook size. Keep in mind that changing these will alter the overall scale proportionally.
Embrace the joy of creating something truly beautiful with your hands. This realistic red rose amigurumi pattern is a testament to the timeless appeal of handmade gifts and décor. We encourage you to pick up your hook, choose your favorite shades of red and green, and embark on this delightful journey. Share your finished masterpiece with us – we can’t wait to see your unique touch!