
Table of contents
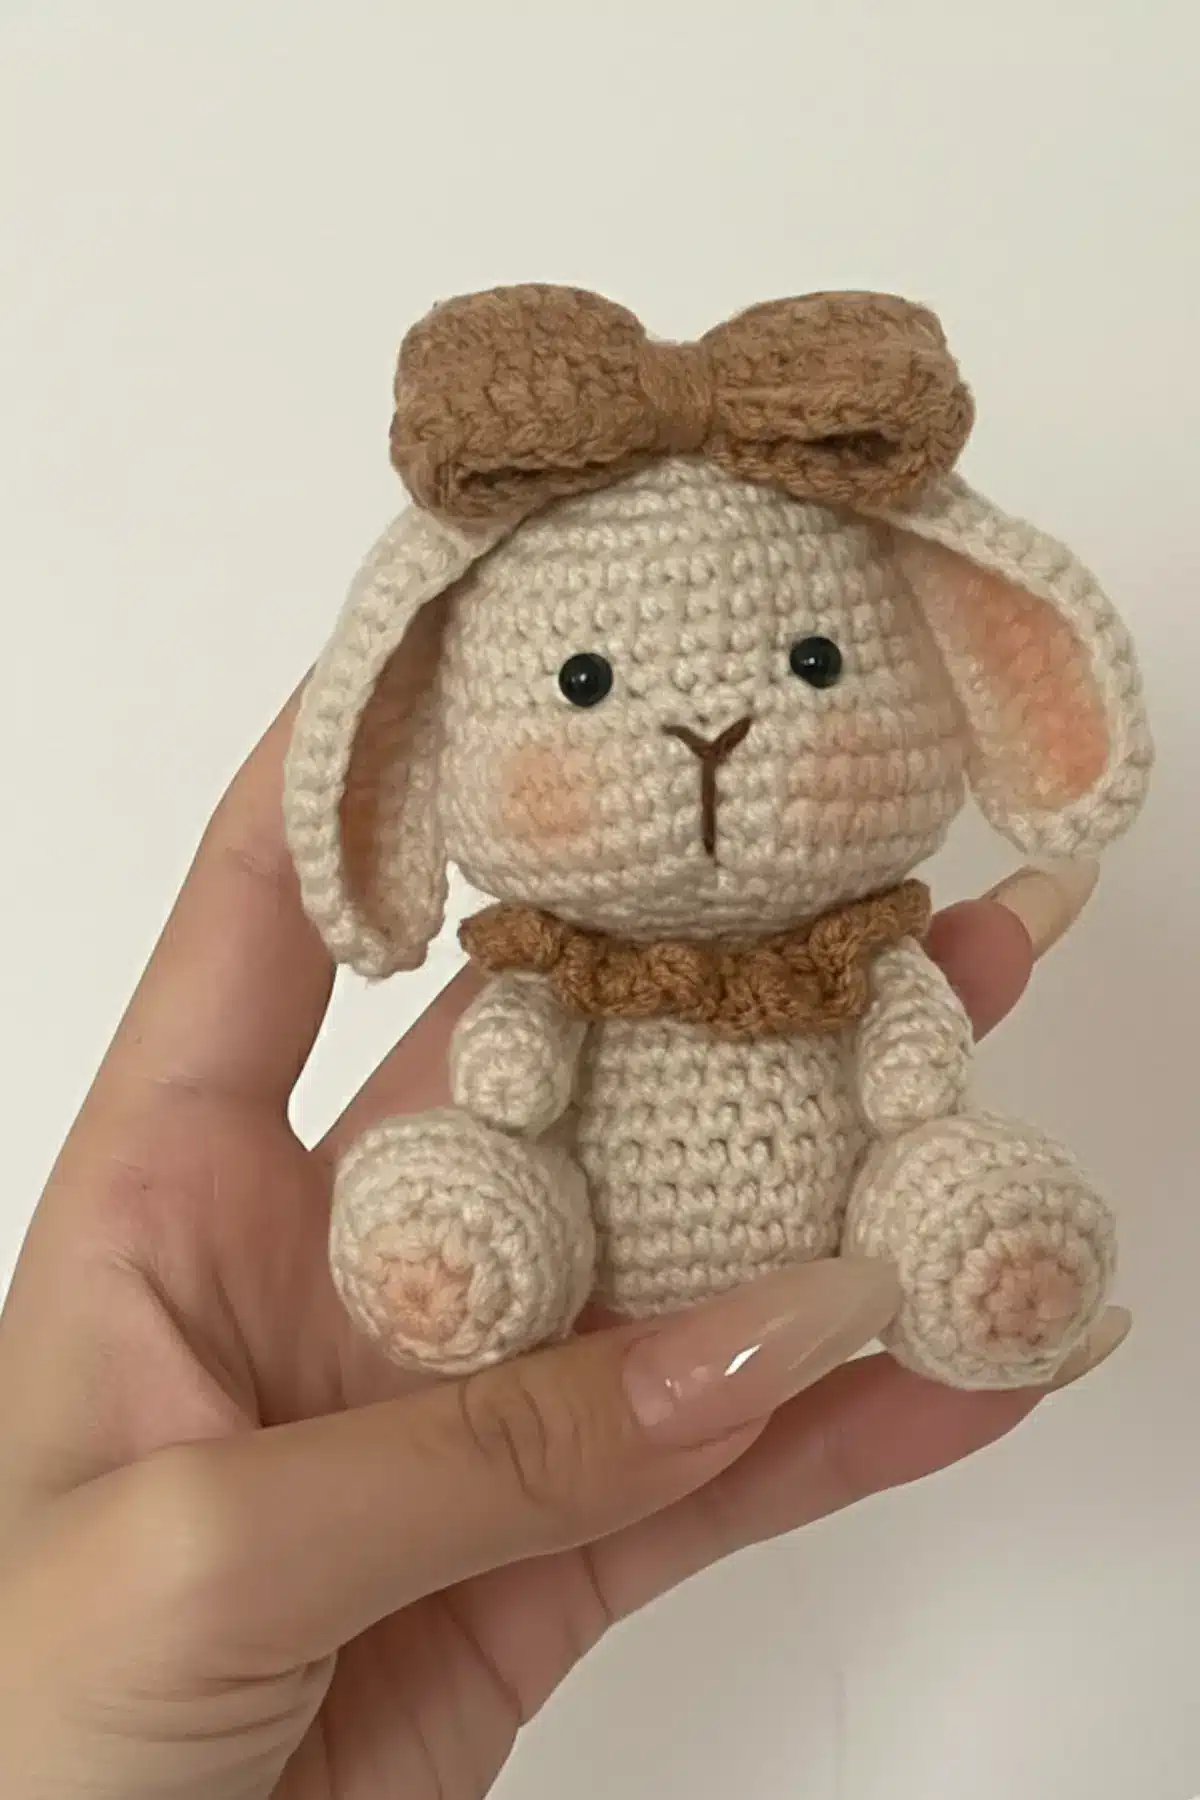
Looking for a free crochet pattern to make a cute handmade bunny? This Retro Lop-Eared Rabbit amigurumi pattern is perfect for beginners and experienced crocheters alike. With step-by-step instructions, a floppy-eared design, and fun accessories like a bow and scarf, this free crochet pattern will bring charm and personality to your handmade creations.
About This Free Crochet Pattern
This pattern guides you through creating a lovable lop-eared rabbit, complete with separate pieces for the head, body, limbs, and those signature floppy ears. You’ll also learn how to crochet a cute little bow and a cozy scarf to complete your bunny’s ensemble, adding layers of personality and retro flair. The construction allows for a charming, slightly poseable finished product, full of character and handcrafted warmth.
Materials You’ll Need
To bring your Retro Lop-Eared Rabbit to life, gather the following supplies:
- Worsted weight (or preferred amigurumi-friendly) yarn in your chosen colors (main color for the rabbit, contrasting colors for the bow and scarf)
- Crochet hook appropriate for your yarn weight (typically a size smaller than recommended for amigurumi to ensure tight stitches)
- Polyester fiberfill for stuffing
- Safety eyes (recommended size 6mm-9mm, or embroidery floss for stitched eyes)
- Tapestry needle for weaving in ends and assembly
- Stitch markers
- Scissors
Abbreviations Used
- X: Single Crochet (sc)
- V: Increase (2 sc in the same stitch)
- A: Decrease (sc2tog)
- T: Half Double Crochet (hdc)
- F: Double Crochet (dc)
- sl: Slip Stitch (sl st)
- W: 3 Single Crochets in the same stitch (sc3tog increase)
- M: Invisible Decrease (inv dec)
- TA: Triple Decrease (sc3tog)
Gauge
Gauge is not critical for amigurumi patterns, but maintaining consistent tension throughout your work is important to ensure your stitches are tight enough to prevent stuffing from showing through. Aim for firm, even stitches.
Let’s Get Started: The Pattern
We’ll work in continuous rounds for most pieces unless otherwise specified. Use a stitch marker to keep track of the beginning of each round.
Head
- R1:6X
- R2:6V
- R3:6(X,V)
- R4:6(X,V,X)
- R5:6(3X,V)
- R6-9:30X
- R10:7X,7V,A,7V,7X
- R11:5X,A,29X,5X
- R12-14:41X
- R15:5X,7A,M,7A,5X
- R16:6(3X,A)
- R17:6(X,A,X)
- Leave stitches to sew with the body.
Body
- R1:8X
- R2:8V
- R3:4(3X,V)
- R4:4(2X,V,2X)
- R5-6:24X
- R7:4(2X,A,2X)
- R8-10:20X
- R11:4(3X,A)
- R12:A,14X
Hands (Make 2)
R1-7:6X
Legs (Make 2)
- R1: 6X
- R2: 6V
- R3: 6(X,V)
- R4: Inner half stitch 18X
- R5: 18X
- R6: 6X, 3TA, 6X
- R7: 6X, M, 6X
- R8-10: 13X
- R11: 4(X,A),X
Ears (Make 2)
R1: Cast on 19 stitches, back 2 stitches 5X, 4T, 5F, 3T, W, 3T, 5F, 4T, 5X
R2: Crochet one round of single crochet, leave yarn and sew
Bow
- R1: Cast on 30 stitches, back 2 stitches V, 27X, W, 28X
- R2: X, V, X, T, 8F, T, X, 3sl, X, T, 8F, T, X, V, X, V, X, T, 8F, T, X, 3sl, X, T, 8F, T, X
Scarf
Cast on 20 stitches, repeat 2 turns (X, 3 stitches), repeat until finished.
Finishing Touches
Once all your pieces are crocheted, it’s time for assembly! Gently stuff each part as you go, ensuring a firm but not overstuffed shape. Attach the head to the body, then securely sew on the arms, legs, and ears. Position the ears to give that characteristic “lop-eared” look. Add your safety eyes, or embroider eyes and a nose/mouth for a softer, child-safe finish. Finally, tie on the bow and drape the scarf around your bunny’s neck. Take a moment to adjust and admire your finished creation!

Frequently Asked Questions
Worsted weight acrylic yarn is a great choice for amigurumi projects like this bunny, as it’s durable, widely available, and comes in a vast array of colors. Cotton yarn can also be used for a slightly denser fabric and different drape.
To prevent stuffing from showing through, use a crochet hook that is one or two sizes smaller than typically recommended for your yarn weight. This creates a denser fabric. Consistent tension is also key, so try to keep your stitches even throughout the project.
Absolutely! Personalization is part of the joy of handmade items. Experiment with different yarn colors for the bunny, bow, and scarf. You could also add embroidered details like blush on the cheeks or even a small stitched flower to its ear.
The “Inner half stitch” refers to working into the back loop only (BLO) or the front loop only (FLO) to create a ridge or specific shaping. For legs, this often creates a defined foot or sole. In this context, it likely means working into the back loop to establish a clear base for the foot.
Share Your Handmade Joy!
Crafting a handmade toy like this Retro Lop-Eared Rabbit is a journey of skill, patience, and love. Each stitch you make contributes to bringing a unique character to life. We encourage you to embrace the process, enjoy the transformation of yarn into a beloved companion, and share your finished creation with the world. Happy crocheting, and may your hook always find its rhythm!