Table of contents
- Plush Bunny Amigurumi Materials and Tools
- Plush Bunny Amigurumi Crochet Abbreviations
- Plush Bunny Amigurumi Head Pattern
- Plush Bunny Amigurumi Body and Legs Pattern
- Plush Bunny Amigurumi Arms Pattern (Make 2)
- Plush Bunny Amigurumi Ears Pattern (Make 2)
- Final Touches for Plush Bunny Amigurumi
- Plush Bunny Amigurumi Frequently Asked Questions
- You’ll Love Also This
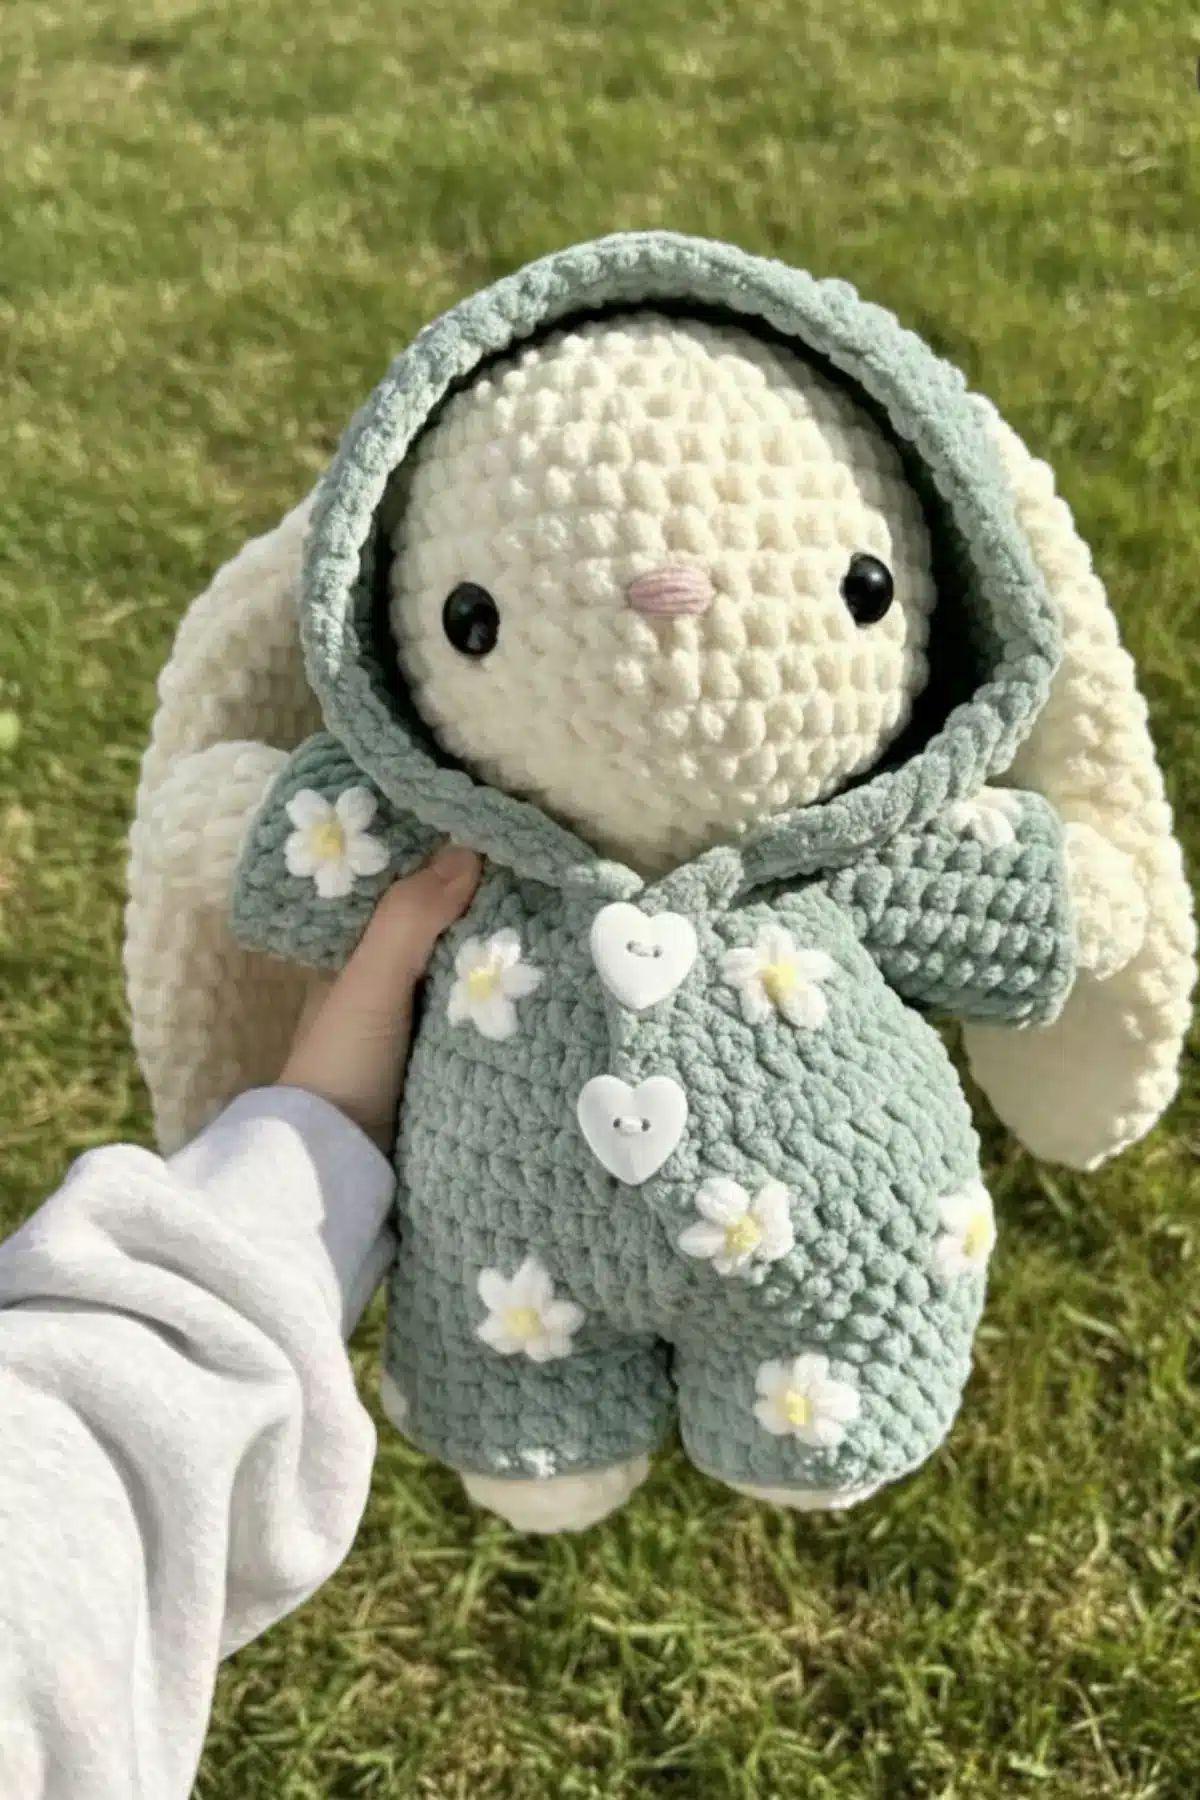
Imagine a soft, squishy companion, lovingly crafted by your own hands, ready to bring joy to any nursery, gift exchange, or cozy corner of your home. This beginner-friendly amigurumi pattern is your gateway to creating just that – an adorable plush bunny using luxurious chenille or velvet yarn. Perfect for anyone looking to dive into the delightful world of amigurumi, this project promises a rewarding experience and a truly huggable finished friend.
Plush Bunny Amigurumi Materials and Tools
- Plush / chenille yarn (suitable weight for amigurumi)
- Crochet hook (appropriate size for your chosen yarn)
- Safety eyes (size 10-12mm recommended, or to preference)
- Fiberfill stuffing
- Yarn needle
- Scissors
Plush Bunny Amigurumi Crochet Abbreviations
- MR – Magic Ring
- SC – Single Crochet
- INC – Increase (2 SC in one stitch)
- DEC – Decrease (SC 2 stitches together)
- SL ST – Slip Stitch
- F.O – Fasten Off
Plush Bunny Amigurumi Head Pattern
- R1. 7 SC in MR (7)
- R2. INC x7 (14)
- R3. (1 SC, INC) x7 (21)
- R4. (2 SC, INC) x7 (28)
- R5. (3 SC, INC) x7 (35)
- R6– 13. SC in each stitch (35)
- Insert safety eyes between rounds 10 and 11, 7 stitches apart
- Stuff firmly
R14. (3 SC, DEC) x7 (28)
R15. 2 SC, (1 SC, 2 DEC) x5, 1 SC (18) - SL ST and F.O
- Stuff a little more
- Embroider nose between rounds 10– 11
- Embroider mouth from rounds 11– 12
Plush Bunny Amigurumi Body and Legs Pattern
First Leg
- R1. 6 SC in MR (6)
- R2. INC x6 (12)
- R3– 6. SC in each stitch (12)
- SL ST and F.O
Second Leg
- R1. 6 SC in MR (6)
- R2. INC x6 (12)
- R3– 6. SC in each stitch (12)
- R6. Ch 2 at the end of the round
Join Legs
R7. Join to first leg with SC,
11 SC, 2 SC in ch-2,
12 SC, 2 SC in ch-2 (28)
- Stuff legs
R8. (13 SC, INC) x2 (30)
R9– 12. SC in each stitch (30)
R13. (13 SC, DEC) x2 (28)
R14. SC in each stitch (28)
R15. (5 SC, DEC) x4 (24) - Stuff
R16– 17. SC in each stitch (24)
R18. (2 SC, DEC) x6 (18) - Stuff some more
- SL ST and F.O, leave long tail to sew head
Plush Bunny Amigurumi Arms Pattern (Make 2)
You have two options for the arms, choose the style you prefer!
Short Arms for Plush Bunny Amigurumi
- R1. 8 SC in MR (8)
- R2– 6. SC in each stitch (8)
- SL ST and F.O, leave long tail
- Stuff lightly
- Sew each arm to round 15– 17 of the body
Long Arms for Plush Bunny Amigurumi
- R1. 5 SC in MR (5)
- R2. INC x5 (10)
- R3– 9. SC in each stitch (10)
- SL ST and F.O, leave long tail
- Stuff lightly
- Sew arms between rounds 17– 18
Plush Bunny Amigurumi Ears Pattern (Make 2)
- R1. 6 SC in MR (6)
- R2. INC x6 (12)
- R3. (2 SC, INC) x4 (16)
- R4– 9. SC in each stitch (16)
- R10. (6 SC, DEC) x2 (14)
- R11– 13. SC in each stitch (14)
- R14. (5 SC, DEC) x2 (12)
- R15– 16. SC in each stitch (12)
- R17. (4 SC, DEC) x2 (10)
- R18. SC in each stitch (10)
- Optional: add 1– 3 more rounds for longer ears
- Do NOT stuff
- SL ST and F.O, leave long tail
- Sew ears between rounds 5 and 6 of the head
Final Touches for Plush Bunny Amigurumi
This plush bunny amigurumi pattern works best when you use thick, soft yarn such as chenille yarn or velvet yarn. These yarns help your plush bunny amigurumi keep a smooth surface while hiding small stitch gaps for a clean, professional look.
When stuffing your plush bunny amigurumi, add fiberfill gradually to avoid lumps and create a balanced shape. Firm legs and a slightly softer head will help your bunny sit nicely and feel extra cuddly when finished.
Choosing the correct hook size is also important for your plush bunny amigurumi. A smaller hook creates tighter stitches, which improves durability and prevents stuffing from showing through the plush yarn.

Plush Bunny Amigurumi Frequently Asked Questions
This pattern is specifically designed for plush yarns like chenille or velvet. These yarns create the soft, cuddly texture that makes the bunny so irresistible. You’ll need to choose a crochet hook that is suitable for your chosen yarn weight.
For a bunny that can stand or sit nicely, firm stuffing is key, especially in the head and legs. Ensure you stuff consistently as you go, adding extra fiberfill before closing sections. This helps maintain shape and stability.
Absolutely! The pattern includes an optional note for customizing ear length. If you desire longer ears, simply add 1 to 3 additional rounds of single crochet (SC in each stitch) after Round 18 before fastening off.
The safety eyes are inserted between rounds 10 and 11 of the head, positioned 7 stitches apart. This placement gives the bunny its characteristic sweet and friendly expression. Make sure to secure them before closing the head completely.
Congratulations, you’re about to create a truly special handmade treasure! Whether it’s for a loved one or to add a touch of whimsy to your own space, this plush bunny is a testament to the joy of making. Embrace each stitch, enjoy the creative process, and delight in the soft, squishy magic you bring to life. Happy crocheting!