Table of contents
Looking for a quick, satisfying make that uses up that leftover velvet yarn? Say hello to your new favorite stash-buster!
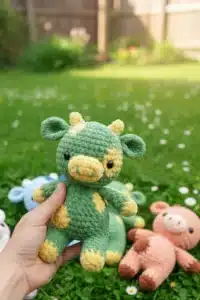
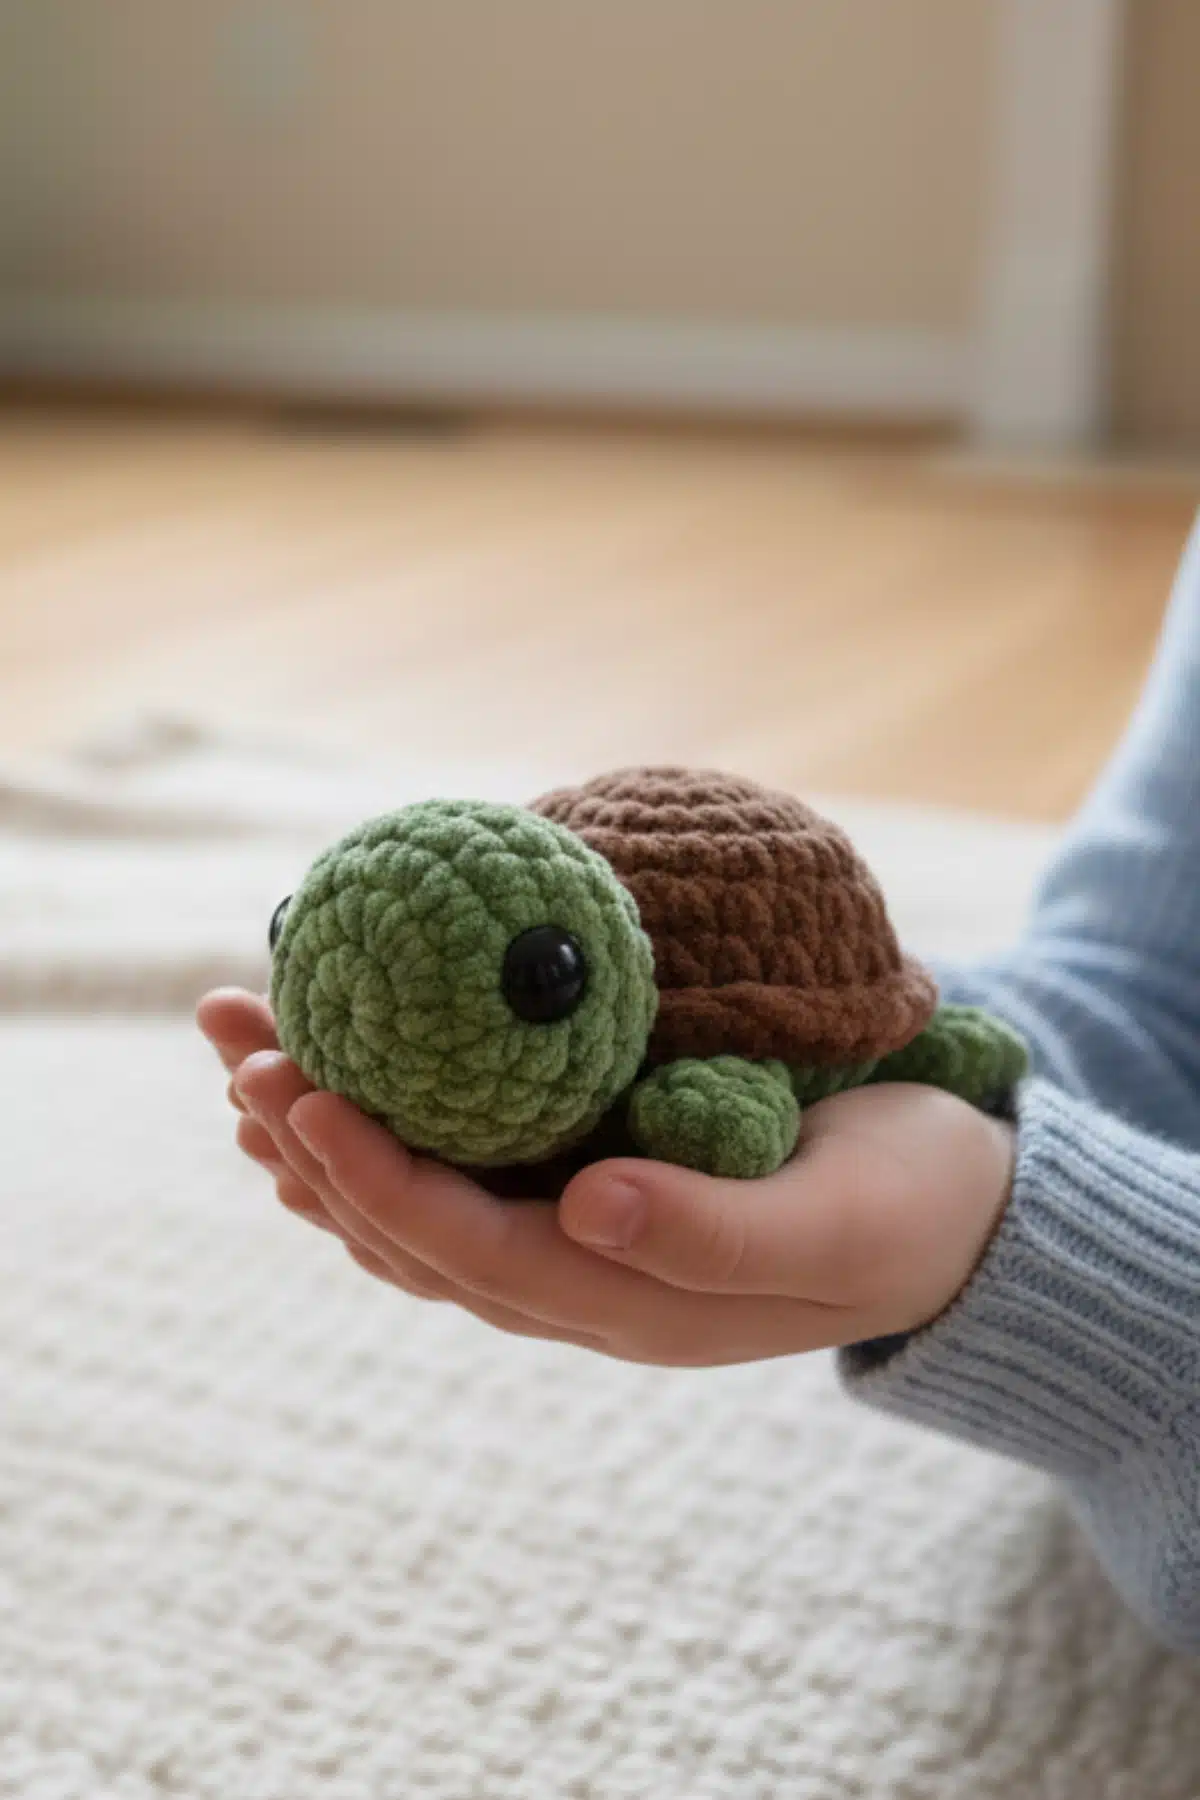
I am so excited to share this free crochet pattern for these adorable little turtles. They are soft, squishy, and fit perfectly in the palm of your hand. Because they use bulky chenille yarn, they work up incredibly fast—you can easily finish one in under an hour!
They make perfect market prep items, last-minute gifts, or just a cute desk buddy to keep you company.
Materials You’ll Need
To bring your little amigurumi friend to life, gather these essentials:
- Yarn: Worsted weight (or similar) yarn in two colors – one for the head and one for the shell. Small amounts are perfect for using up scraps!
- Crochet Hook: A hook size appropriate for your chosen yarn (e.g., 3.0mm-4.0mm for worsted weight) to achieve a tight fabric that stuffing won’t show through.
- Stuffing: Polyester fiberfill to give your amigurumi its plump, cuddly shape.
- Tapestry Needle: For weaving in ends and assembling the pieces.
- Scissors: For cutting yarn.
- Stitch Marker (Optional but Recommended): To keep track of your rounds, especially helpful for beginners.
Abbreviations
- mc: Magic Circle (also known as Magic Ring)
- sc: Single Crochet
- inc: Increase (2 single crochet stitches in the same stitch)
- dec: Decrease (single crochet 2 together)
- FLO: Front Loop Only
- st: Stitch
- f/o: Fasten Off
Getting Started: The Head
Let’s begin by crafting the adorable head of your amigurumi. Work in continuous rounds unless otherwise specified.
- 1.mc w/4sc
- inc x4
- (sc, inc) x4
- 3sc, dec x3, 3sc
- sc, dec x3, 2sc
- sc around
- add stitch or two and sc across to close
Stuff the head firmly as you go, ensuring it maintains a nice rounded shape.
Crafting the Shell
Next, we’ll create the shell, which will eventually house the head and complete your little friend.
- 1.mc w/6sc
- inc x6
- (sc, inc) x6
- 4-5. sc around
- FLO sc around
CHANGE COLOR
Attach head in first 3 st
- 3sc, sc, fin 1, 3sc, fin 2, 7sc, fin 2, 3sc, fin 1, sc
- (sc, dec) x6
- dec x6
f/o leave long tail to attach head to shell
Assembly and Finishing Touches
Now for the magical part: bringing your pieces together! After completing the shell, firmly stuff the remaining body cavity. Use the long tail you left on the shell to carefully sew the head to the shell, ensuring it’s securely attached. Weave in any remaining ends neatly. Take a moment to admire your finished creation! You can add small embroidered eyes or safety eyes if desired, being mindful of safety for young children.

Frequently Asked Questions
Worsted weight acrylic or cotton yarn is generally recommended for amigurumi due to its durability, wide color selection, and ease of working. Choose a yarn that allows you to create a tight fabric so the stuffing doesn’t show through.
Stuffing firmly and consistently as you go is key. Make sure to push the fiberfill into all areas, especially small crevices, to avoid lumps and maintain the desired shape. Don’t be afraid to use a good amount of stuffing!
This instruction means to slightly increase the number of stitches in the round if needed to create a flatter, more even edge, then single crochet across the opening to securely close it. This helps create a neat finish for the base of the head before attaching it.
Given the context of a head and shell, “fin 1” and “fin 2” likely refer to creating fins or small appendages. These are probably specific instructions for separate small pieces or a technique not included in this text excerpt, indicating where they should be attached or worked into the pattern. For the best result, refer to the original complete pattern for the explicit instructions on how to create these ‘fins’.
Your Handmade Journey Continues!
Every stitch you make is a testament to your creativity and patience. Completing this amigurumi project isn’t just about the finished product; it’s about the joy of the process, the skill you’ve honed, and the satisfaction of bringing something beautiful into existence with your own hands. We hope you cherish your new little companion and feel inspired to embark on many more crafting adventures. Happy crocheting!