
Table of contents
Crochet Your Own Charming Amigurumi Pal: A Fun Pattern Guide
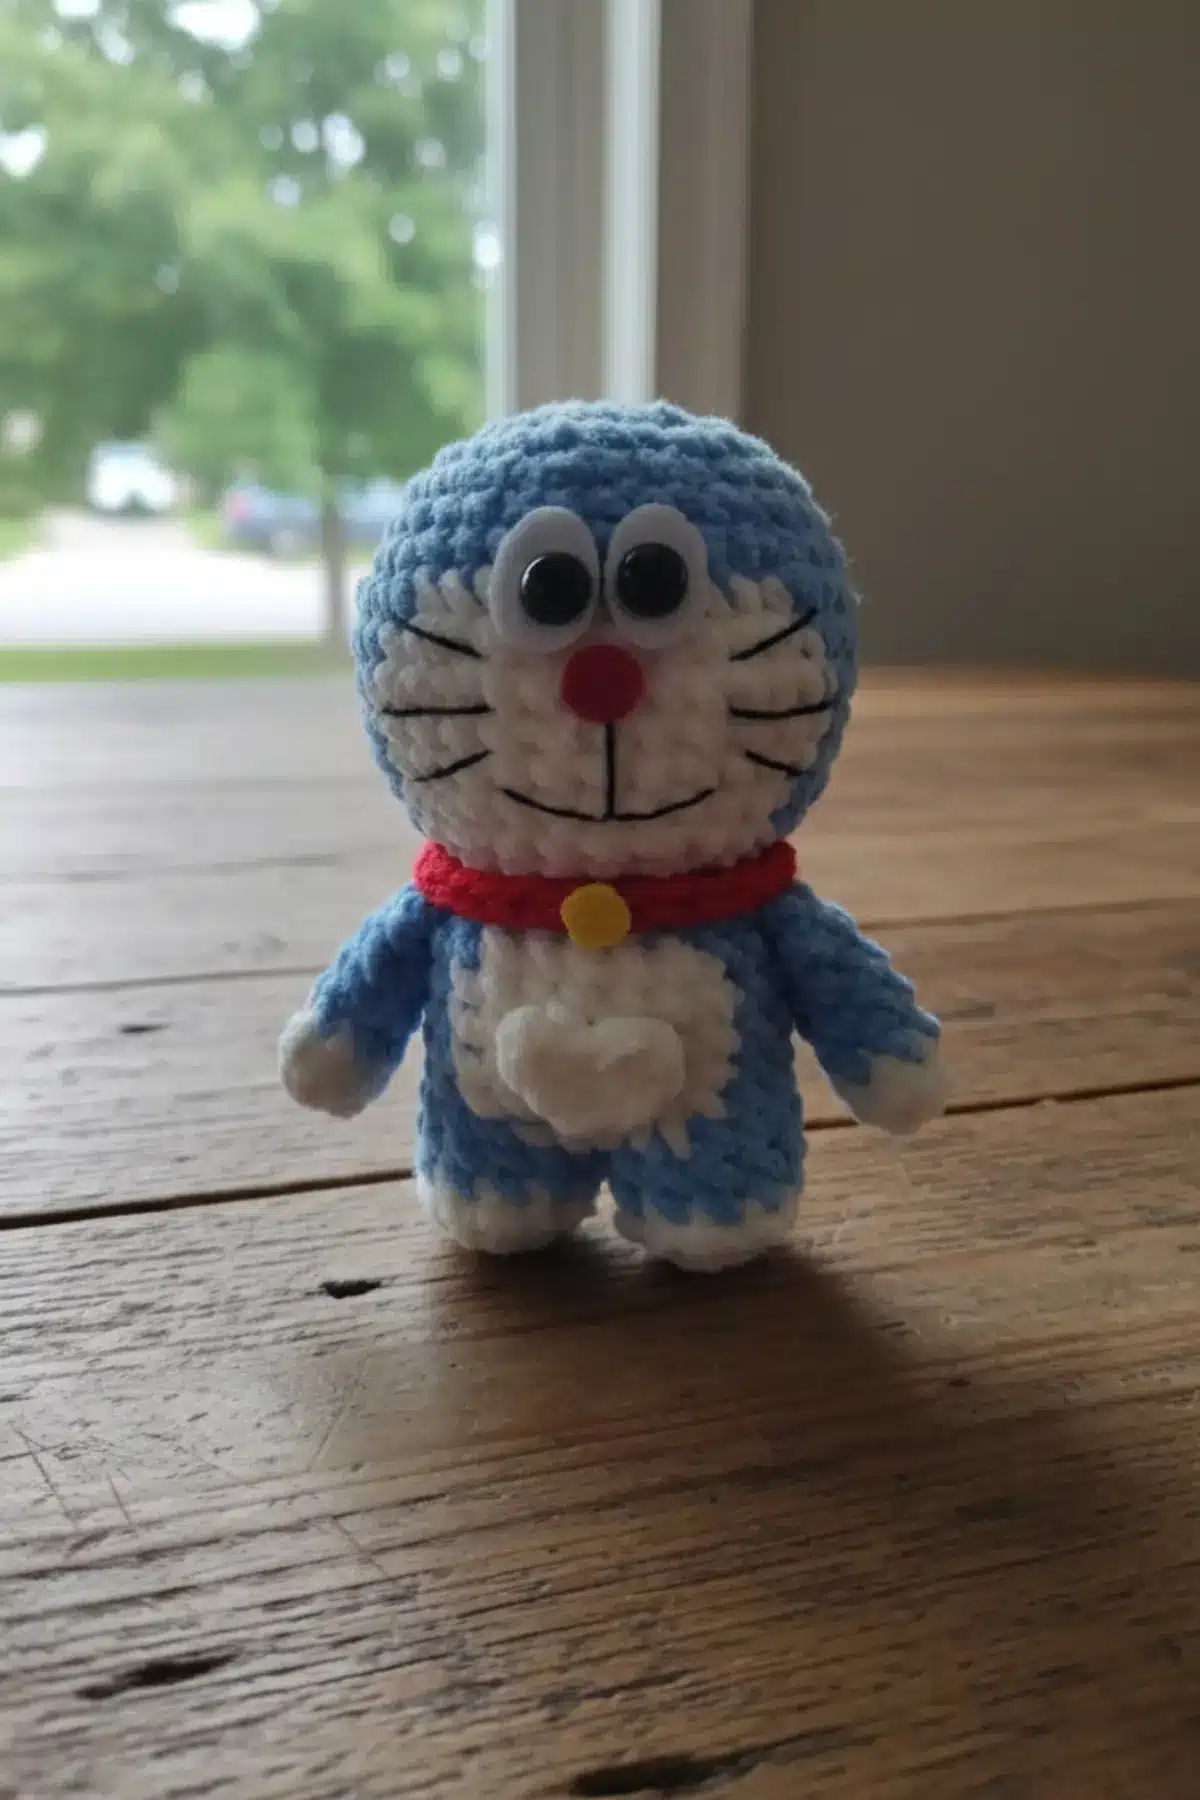
Imagine a tiny, handcrafted friend, brimming with personality and waiting to bring a smile to someone’s face. This delightful amigurumi pattern offers you the chance to create just that! Whether you’re looking for a special gift, a new decorative piece, or simply a joyful project to immerse yourself in, this charming character is perfect. With clear instructions and engaging color changes, you’ll love watching your little pal come to life stitch by stitch.
Materials & Tools
- Worsted weight yarn in Blue
- Worsted weight yarn in White
- Appropriate size crochet hook for your yarn (usually 3.0mm – 4.0mm for amigurumi)
- Stuffing (polyester fiberfill)
- Tapestry needle
- Scissors
- Stitch marker (optional, but highly recommended for working in rounds)
Abbreviations (US Terms)
- sc: single crochet
- inc: increase (2 single crochet in one stitch)
- dec: decrease (single crochet two stitches together)
- hdc: half double crochet
- ch: chain
- sl st: slip stitch
- MR: magic ring
Head
- R1: 8 sc in magic ring
- R2: 8 inc (16)
- R3: sc, inc (24)
- R4: sc, inc, sc (32)
- R5– 6: sc on all stitches
- R7: 3 sc, inc (40)
- R8: 15 sc, 10 sc in white, 15 sc (40)
- R9: 14 sc, 12 sc in white, 14 sc (40)
- R10: 13 sc, 14 sc in white, 13 sc (40)
- R11: (3 sc, dec) ×8• Change to white yarn on the 13th stitch• Use blue yarn again on the 28th stitch (32)
- R12– 13: 11 sc, 10 sc in white, 11 sc
- R14: (sc, dec, sc) ×8• Use white for the 9th stitch• Use blue again for the 17th (24)
- R15: (2 sc, dec, 2 sc) ×4• Use white for the 7th stitch• Use blue again for the 15th (20)
Legs (Make 2)
- R1: 10 sc in magic ring
- R2: 10 sc
- R3: 10 sc (change to blue)Note:Don’t cut the yarn on the second leg. Chain 1 before connecting it to the first leg with a slip stitch.
Body
- R4: 22 scR5: 8 sc, 2 sc, inc, 2 sc, 8 sc, inc (24)
- R6– 9: 7 sc, 8 sc, 9 sc (24)
- R10: 8 sc, 6 sc, 10 sc (24)
- R11: 2 sc, dec, 2 sc (20)Note: Change to white yarn on blue- colored rows.
Arms (Make 2)
- R1: 6 sc in magic ringR2– 5: 6 sc (change to blue)
5 hdc in magic ring
Finishing Touches
Once you’ve completed all the pieces, it’s time to assemble your amigurumi pal! Stuff the head and body firmly as you go, ensuring a nice shape. Attach the head to the body, then carefully position and sew on the arms and pocket. Weave in any remaining yarn ends securely. Take your time with assembly to bring out the unique character of your creation.

Frequently Asked Questions
This pattern is suitable for adventurous beginners or intermediate crocheters. Familiarity with basic stitches like single crochet, increases, and decreases, as well as working in the round and color changes, will be helpful. Don’t worry if you’re new to color changes; it’s a great opportunity to learn!
To make a clean color change, work the last yarn over of the stitch *before* the color change with the *new* color. For example, if your last stitch in blue is an ‘sc’, insert your hook into the stitch, yarn over with blue and pull up a loop (two loops on hook), then yarn over with white and pull through both loops. This seamlessly transitions to the new color.
Stuff your amigurumi firmly and evenly to create a smooth, shapely finish. Add small amounts of fiberfill at a time, using the back of your crochet hook or a chopstick to push it into tight spots. Make sure there are no lumpy areas or under-stuffed sections that could cause the fabric to sag.
Absolutely! Feel free to experiment with different yarn weights and colors to customize your amigurumi pal. Just be aware that changing yarn weight will alter the finished size of your project, and you may need to adjust your hook size accordingly to maintain a tight fabric that prevents stuffing from showing through.
Conclusion
Congratulations on embarking on this wonderful crochet journey! Creating your own amigurumi pal is a deeply rewarding experience, filled with the joy of seeing yarn transform into something truly special. We hope you’ve enjoyed crafting every stitch of this charming character. Share your finished creations with us – we can’t wait to see the unique personality you’ve brought to life!