
Table of contents
You’ll Love Also This
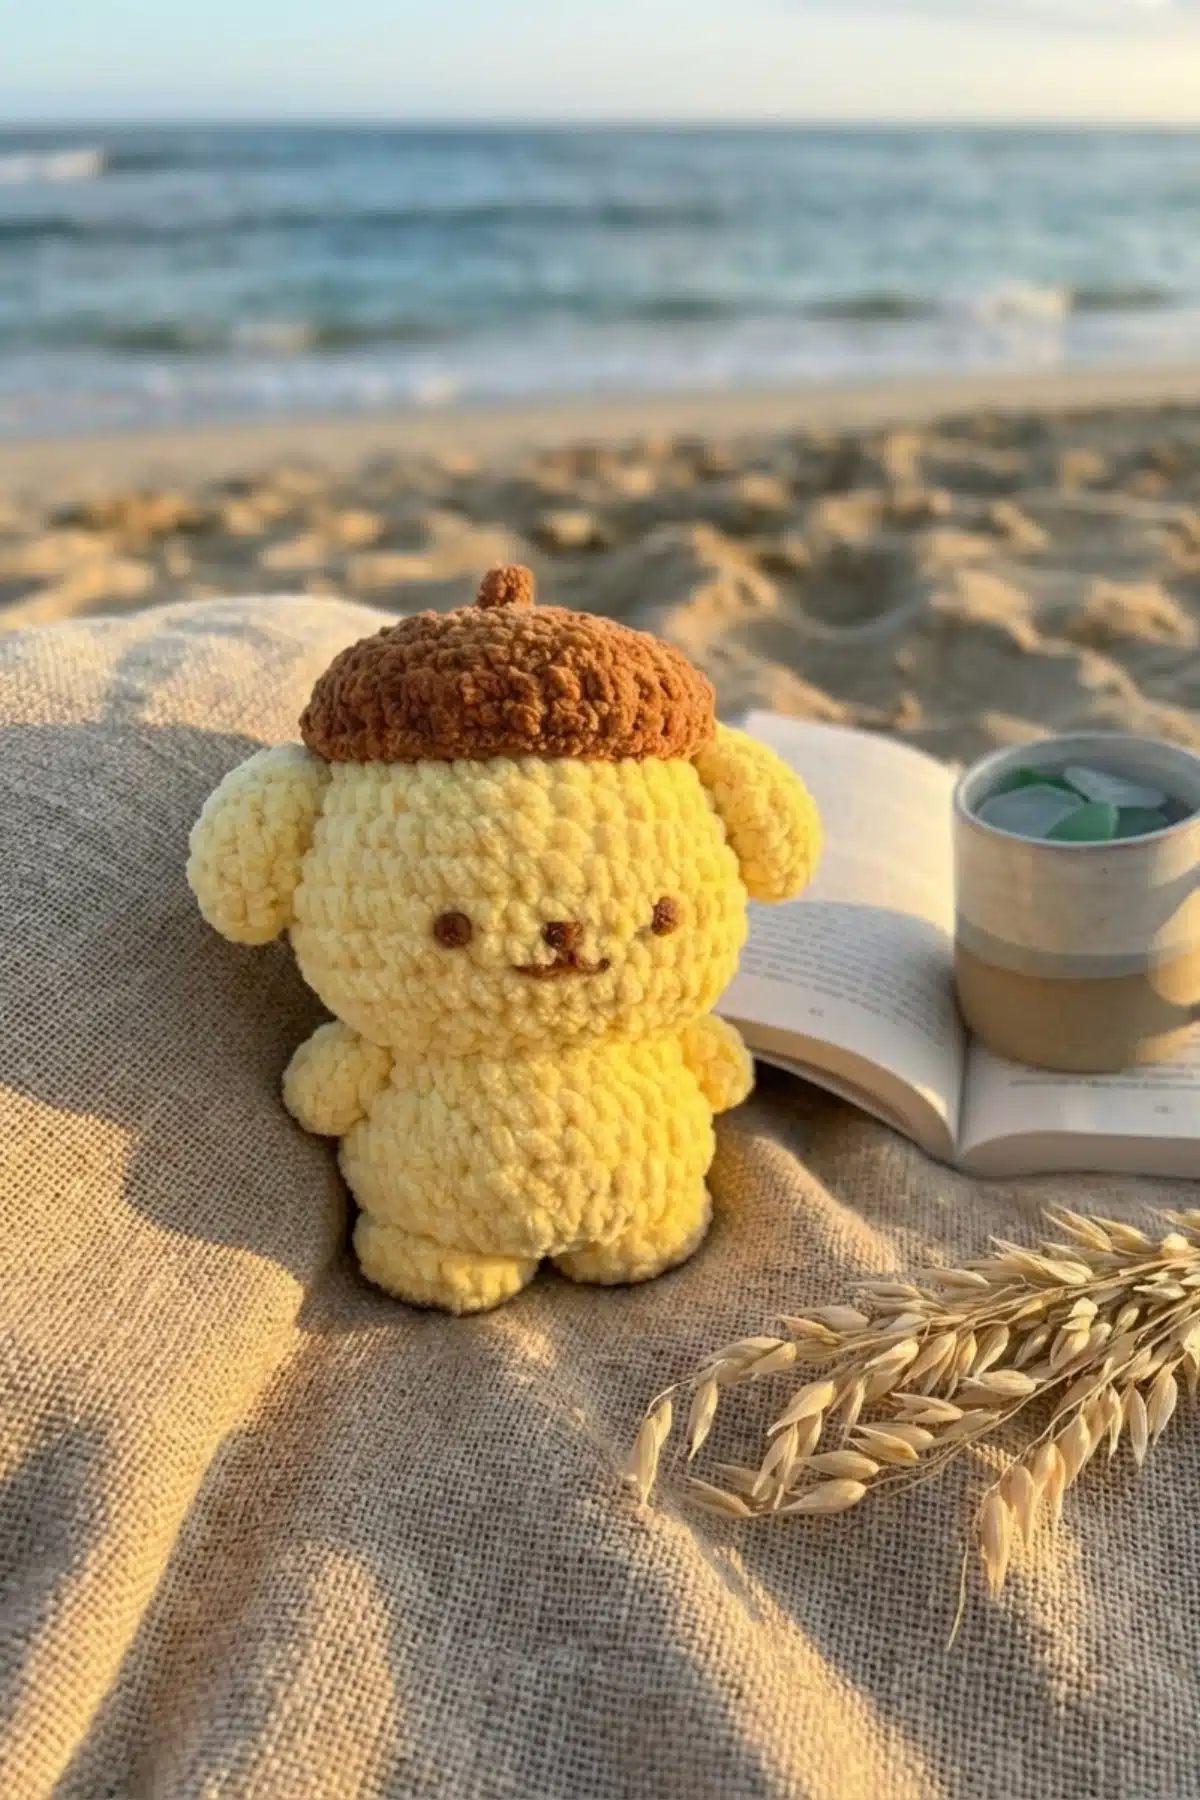
Are you ready to welcome an adorable new friend into your home? Pompompurin, with his signature beret and sweet demeanor, is one of the most beloved characters, and now you can bring him to life with your own hands! This crochet pattern makes it wonderfully easy to create a cute, huggable Pompompurin amigurumi doll that’s perfect for gifting, decorating, or simply brightening your day. Whether you’re a seasoned crocheter or just starting your amigurumi journey, this pattern offers a delightful and rewarding project.
Materials You’ll Need
To craft your very own Pompompurin, gather these essentials:
- Yarn in Pompompurin’s signature yellow (main color), brown (for the beret and details), and a small amount of black for embroidery.
- Appropriate size crochet hook for your chosen yarn (typically a smaller hook than recommended for the yarn to create tight stitches suitable for amigurumi).
- Polyester fiberfill for stuffing.
- Yarn needle for assembly and weaving in ends.
- Embroidery needle for facial features.
- Scissors.
Abbreviations
Let’s get familiar with the terms used in this pattern:
- x = single crochet (sc)
- v = increase (inc)
- a = decrease (dec)
- ch = chain
- F / T = front / back loop
Let’s Begin: The Pompompurin Body
This is the main part of your Pompompurin doll, forming its charming round shape.
- R1: 6x in magic ring
- R2: 6v (12)
- R3: 6(x, v) (18)
- R4: 6(x, v, x) (24)
- R5: 6(3x, v) (30)
- R6: 6(2x, v, 2x) (36)
- R7– R8: 36x
- R9: 6(5x, v) (42)
- R10: 6(3x, v, 3x) (48)
- R11– R13: 48x
- R14: 12(x, a, x) (36)
- R15: 12(x, a) (24)
- R16: Back loop only 24x
- R17: 12(x, v) (36)
- R18– R19: 36x
- R20: 7(2x, v, 2x), x
- R21: 7(2x, a, 2x), x
- R22: 9(x, a, x)
- R23– R24: 9(x, a)
- R25: 9a
- Fasten off and close.
Crafting the Legs (Make 2)
These will give your Pompompurin his sturdy little stance.
- R1: 8x in magic ring
- R2: 8v (16)
- R3: Inner loop only 16x
Shaping the Arms (Make 2)
Give your Pompompurin some cute, stubby arms!
- R1: 4x in magic ring
- R2: 4v (8)
- R3– R4: 8x
Creating the Ears (Make 2)
No Pompompurin is complete without his floppy ears!
- R1: 6x in magic ring
- R2: 6v (12)
- R3– R4: 12x
- R5: 3(x, a, x)
- R6: 3(x, a)
- R7: 3a
- Fasten off.
Attaching the Tail
This tiny detail adds so much character!
4 ch
Starting from 2nd chain from hook: T, F, F
The Iconic Hat
Every Pompompurin needs his charming beret! Work this in a contrasting brown yarn.
- R1: 8x in magic ring
- R2: 8v (16)
- R3: 8(x, v) (24)
- R4: 8(x, v, x) (32)
- R5: 8(3x, v)
- R6: x
- R7: (6x, a)
Finishing Touches & Details

Now for the details that truly bring Pompompurin to life! Use embroidery techniques for these features.
- Hat pom-pom: Make a small yarn ball and wrap yarn around it 3 times to create a fluffy top for the beret.
- Eyes: Use a French knot technique, wrapping yarn 2 times, for expressive eyes.
- Nose: Employ a satin stitch. Sew 4 stitches across, then repeat 2 times to build up a cute, prominent nose.
- Mouth: A simple satin stitch with 2 stitches done once will create his sweet smile.
- Cheeks (pp): A single stitch for each cheek adds a pop of color and charm.
Frequently Asked Questions
For most amigurumi patterns, including this Pompompurin, a DK (double knitting) or worsted weight yarn is ideal. These weights create a firm fabric when crocheted with a slightly smaller hook, which is crucial for preventing stuffing from showing through.
For clean embroidery, use a sharp embroidery needle and separate your yarn plies if your yarn is multi-plied. Practice the French knot and satin stitch on a scrap piece of fabric first. Keep your stitches even and pull just enough to secure them without distorting the fabric.
Stuff your Pompompurin firmly and evenly, adding small pieces of fiberfill at a time. Pay attention to the head and limbs to ensure they are well-shaped without being lumpy. A chopstick or the back of a crochet hook can help push stuffing into tight spots.
Absolutely! The final size of your amigurumi will largely depend on the yarn weight and hook size you choose. Using a thicker yarn and larger hook will result in a bigger Pompompurin, while a thinner yarn and smaller hook will create a miniature version.
Congratulations, fellow maker! You’ve just created a delightful Pompompurin amigurumi. Each stitch you made contributes to this charming handmade doll, a testament to your skill and creativity. We encourage you to share your finished Pompompurin with pride and inspire others to pick up their hooks and join the wonderful world of crochet. Happy crafting!