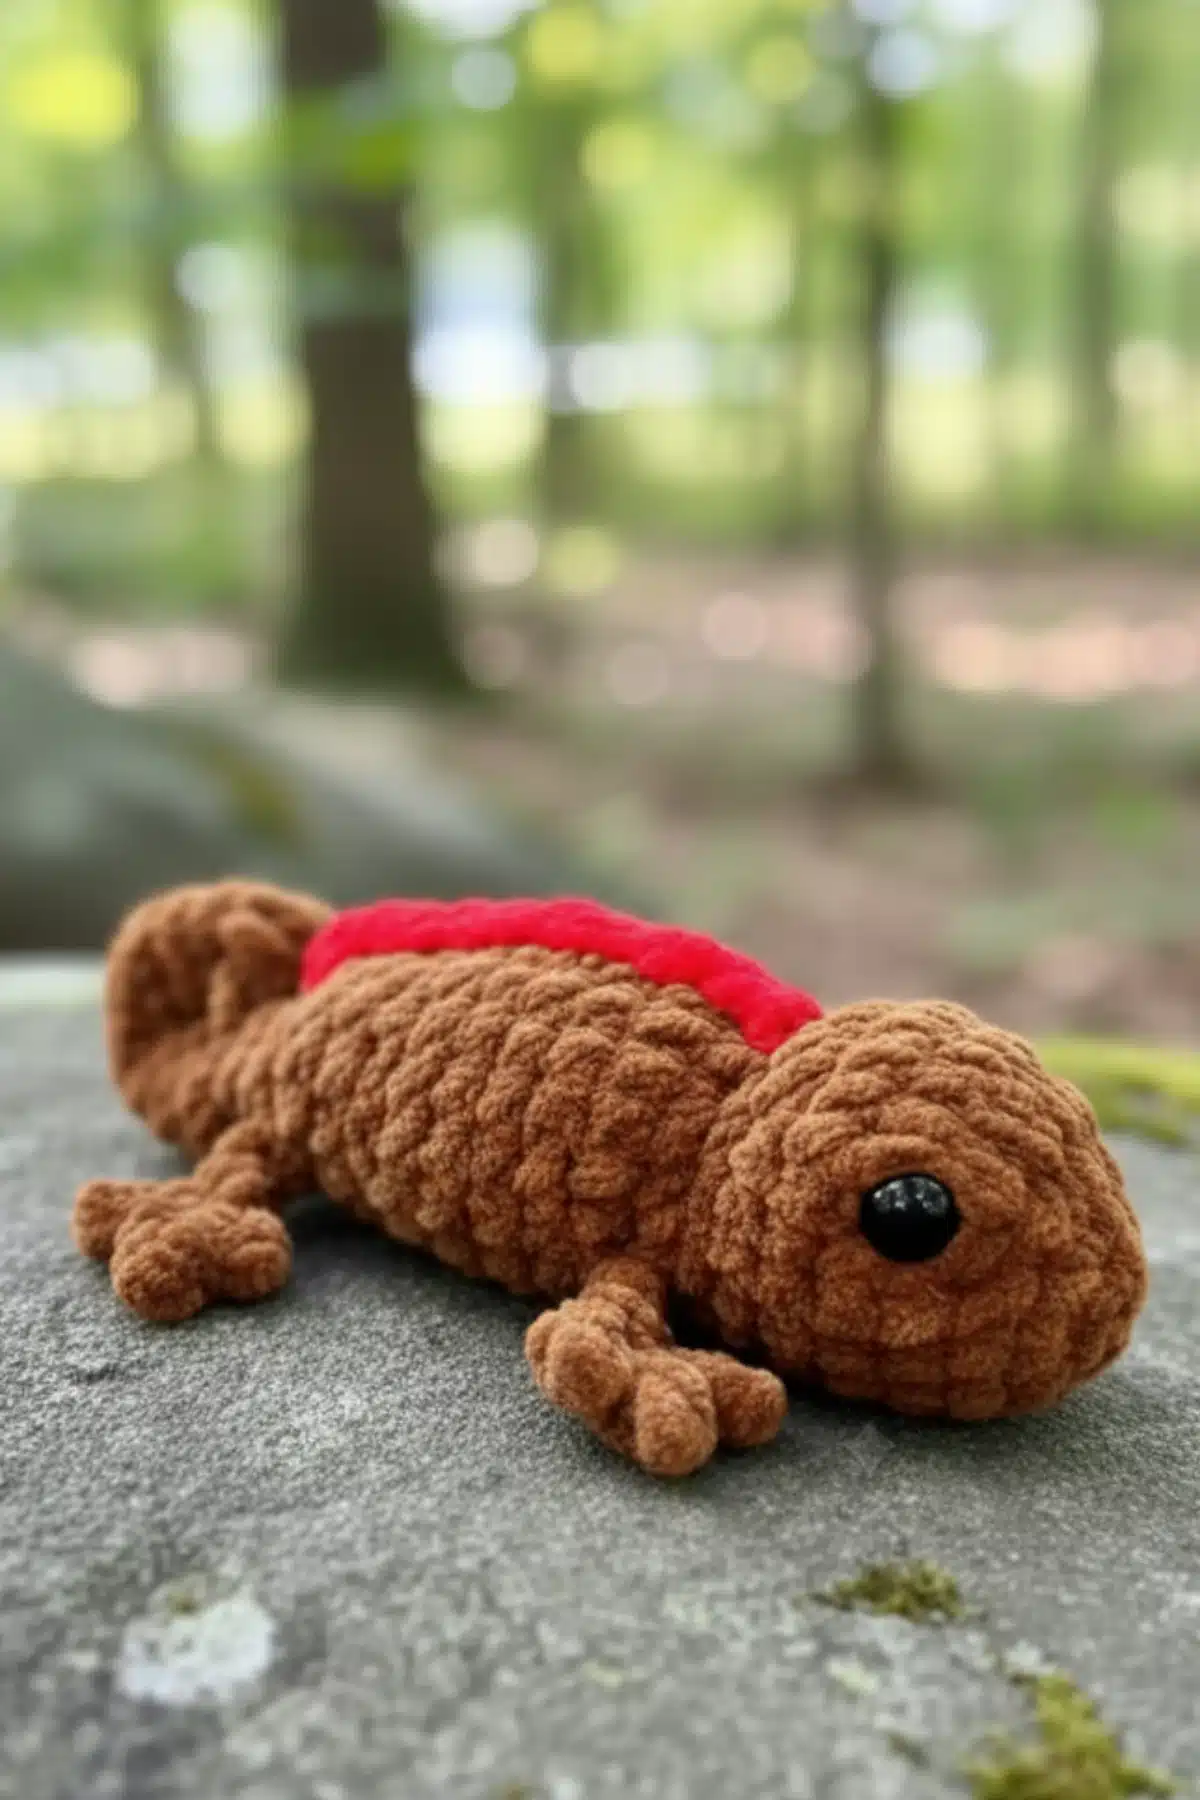
This free chameleon crochet pattern will help you create Carmie, an adorable amigurumi friend with a charming curly tail and optional rainbow stripes. Whether you’re looking for a beginner-friendly amigurumi project or want to add a whimsical chameleon to your collection, this chameleon crochet pattern offers a rewarding journey. Carmie the Chameleon is perfect for crocheters who love cute animal patterns and colorful creations!
Notes for Your Chameleon Crochet Pattern Journey
Before you begin this chameleon crochet pattern, here are a few friendly notes to guide you:
Should any questions arise during your making process, please don’t hesitate to reach out for assistance!
This pattern is crafted with love and care, and we kindly ask that you do not copy, resell, or redistribute it as your own.
We absolutely encourage you to sell your finished Carmie creations! When you do, please remember to credit the original pattern creator.
This chameleon crochet pattern uses standard US crochet terminology and is worked in continuous rounds, meaning there’s no need to slip stitch and chain at the end of each round.
For the neatest results, the invisible decrease method is highly recommended throughout this pattern.
Materials for This Chameleon Amigurumi Pattern
To bring Carmie to life, gather these essential supplies:
- Yarn in any color/weight you prefer (I used Parfait Chunky)
- Crochet hook (I used 4.5mm)
- Safety eyes (I used 14mm)
- Stuffing
- Scissors
- Stitch marker
- Yarn needle
And here are the abbreviations you’ll encounter:
- CH = chain
- DEC = decrease
- INC = increase
- FO = fasten off
- MR = magic ring (Or CH 2 method)
- R = round
- SC = single crochet
- SL ST = slip stitch
Free Chameleon Crochet Pattern Instruction
- Begin in the main body color.
- The entire head/body will be worked in one piece.
- R1: 6SC in a MR (6)
- R2: INC x6 (12)
- R3: 4SC, 4INC, 4SC (16)
- R4: 5SC, 6INC, 5SC (22)
- place eyes in between
- R4 & R5, 5-6 STS apart.
- R5-6: SC around (22) (2 rounds)
- R7: 7SC, 4DEC, 7SC (18)
- Place the eyes now.
R8: 5SC, 4DEC, 5SC (14)
R9: 4SC, 6INC, 3SC, Leg, SC (20)
R10: 3SC, Leg, 17SC (20)
Crochet Chameleon Leg Pattern
CH 6. SC into the 2nd CH on the hook. SL ST into the next CH**. [CH 2, do a SC into the CH and SL ST into the same CH** from before]. [Repeat] for a total of 3 toes. SC 3 down the rest of the CH.
- The legs should be centered on either side of the body.
- Due to changes in tension/yarn, you may need to adjust them by adding/removing SC’s.
R11-14: SC around (20) (4 rounds)
R15: (2SC, DEC) x5 (15)
stuff head/body.
R16: SC around (15)
R17: Leg, 3SC, leg, 12SC (15)
from this point on, stuff after each row.
R18: DEC x7, SC (8)
R19-20: SC around (8) (2 rounds)
R21: 6SC, DEC (7)
R22: SC around (7)
R23: 5SC, DEC (6)
R24-29: SC around (6) (6 rounds)
R30: 4SC, DEC (5)
FO, leave a long tail for sewing.
Sewing the Chameleon’s Curly Tail
To create Carmie’s iconic curly tail, follow these steps:
- Start with the tail pointed towards you and the head facing away.
- Starting from the end of the tail, curl it inwards down the length of the tail (towards the head) to create the spiral shape.
- Sew the tail to the body. I sew it down between R17-18.
- If needed, use an ami stick to secure the tail while you sew.
Amigurumi Chameleon Back Ridge
Add a lovely textured back ridge to your chameleon:
- Insert your hook between R7 and R8 in the middle of the back.
- Working towards the tail, SC across the top until you reach the tail. I ended in R17 (but it may vary for you).
- SL ST & FO – bring your yarn tails together in the same ST & tie together 2-3x to secure.
Rainbow Chameleon Crochet Pattern Variation
For a truly vibrant rainbow chameleon crochet pattern, embrace these color changes
- You will need 7 different colors.
- You can use any colors in any order you wish. I used dark blue, light blue, green, yellow, orange, light pink, and dark pink.
R1-6: Color 1
R7-8: Color 2
R9-10: Color 3
R11-12: Color 4
R13-14: Color 5
R15-16: Color 6
R17-18: Color 7
R19-20: Color 1
R21-22: Color 2
R23-24: Color 3
R25-26: Color 4
R27-28: Color 5
R29-30: Color 6 - For the back ridge, you can use any color. I used color 6.

Frequently Asked Questions
While the pattern is versatile for any yarn and hook you prefer, the designer used Parfait Chunky. This type of chenille-style yarn creates a wonderfully soft and cuddly texture, perfect for amigurumi, and often results in a slightly larger, squishier finished product.
Absolutely! The pattern suggests 14mm safety eyes, but feel free to experiment with sizes slightly larger or smaller to achieve the look you desire for your chameleon. Just ensure they are securely fastened before stuffing to keep your little friend safe.
Don’t worry, this is a common occurrence due to variations in tension or yarn! The pattern notes that you might need to adjust the leg placement by adding or removing single crochet stitches before or after attaching the leg sections in Round 9 and 17 to ensure they are centered on either side of the body.
The invisible decrease (inv dec) is a fantastic technique for amigurumi that creates a much smoother, less noticeable decrease, helping maintain the shape of your stitches. It’s relatively easy to learn with a quick online tutorial and is highly recommended for a polished finish on your Carmie.
You’re Done! Enjoy Your Whimsical Creation!
And there you have it—your very own Carmie the Chameleon! Each stitch you’ve made tells a story of dedication and creativity, culminating in a beautiful handmade treasure. We hope you cherished every moment of crafting this whimsical friend. Don’t forget to share your finished Carmie with the world and inspire fellow makers!