Table of contents
- Pattern Overview
- 🧶 Materials for Your Free Amigurumi Hatching Chick Pattern
- Finished Dimensions
- 🔤 Stitch Guide for Free Amigurumi Hatching Chick Pattern
- Special Notes for Plush Yarn:
- Free Amigurumi Hatching Chick Pattern Instructions
- Assembly Instructions
- Color Variations & Customization
- Pro Tips for Working with Chenille Yarn
- Frequently Asked Questions
- Conclusion
- You’ll Love Also This
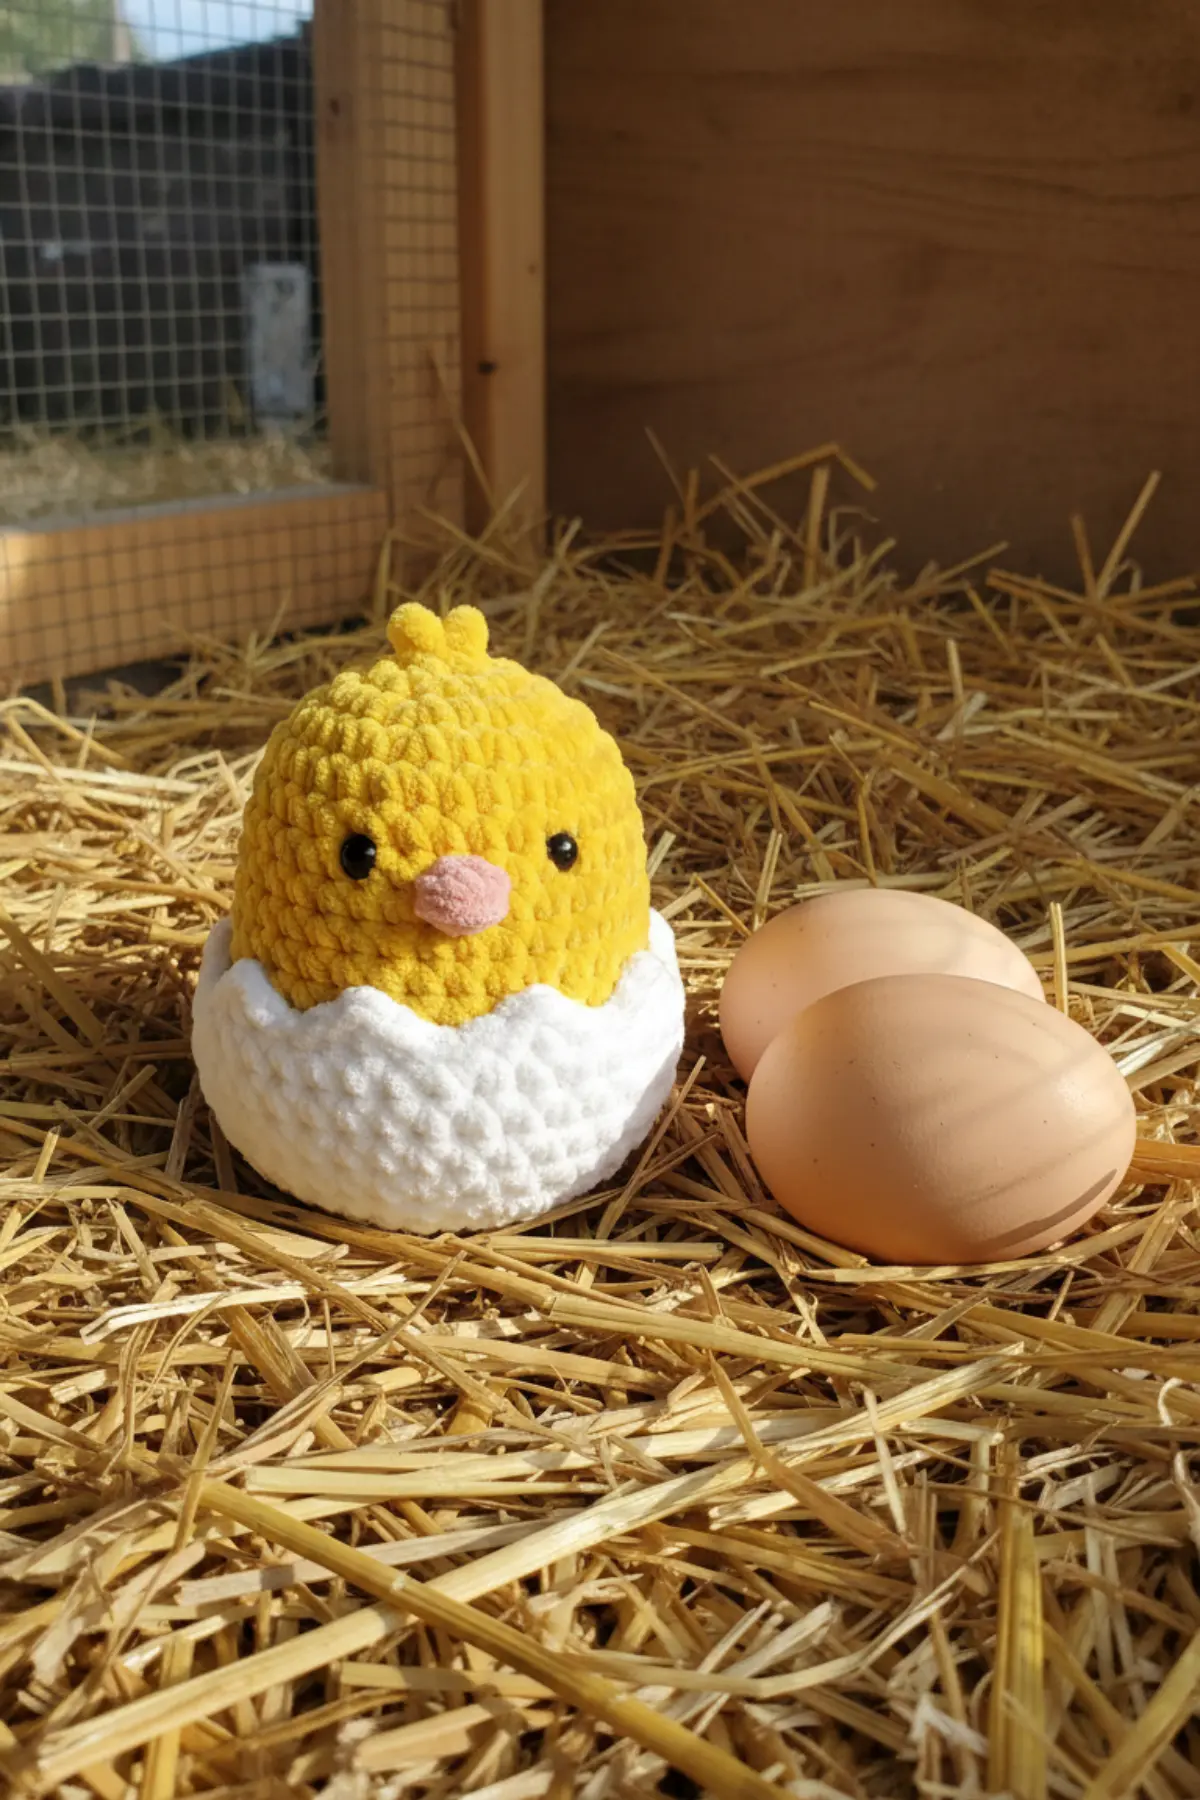
Imagine the joy of creating a tiny, fluffy bundle of spring that fits right in the palm of your hand! This delightful Amigurumi Hatching Chick pattern offers a heartwarming project for crocheters of all levels, especially beginners looking to dive into the wonderful world of plush yarn. With its sweet design and soft texture, this little chick bursting from its shell is sure to bring a smile to anyone’s face. Get ready to crochet a charming new friend that’s perfect for Easter baskets, nursery decor, or simply as a cuddly companion.
Pattern Overview
- Skill Level: Beginner
- Finished Size: Approximately 8 cm (3.15 inches) tall
- Yarn Type: Chenille / Velvet / Plush Yarn
- Hook Size: 3.5 mm (E/4)
- Time to Complete: 2-3 hours
🧶 Materials for Your Free Amigurumi Hatching Chick Pattern
Yarn (Chenille/ Velvet/ Plush)
- Bright Yellow (100% polyester chenille, medium weight) – 25g
- White/ Off- White (100% polyester chenille, medium weight) – 20g
- Light Pink (for beak) – small amount
- Black (for eyes – optional if using safety eyes) – tiny amount
Other Materials
- 3.5 mm (E/4) crochet hook
- 6 mm black safety eyes (2 pieces) OR black embroidery thread
- Polyester fiberfill stuffing
- Stitch markers
- Tapestry needle
- Scissors
- Optional: Small piece of pink felt for beak reinforcement
Finished Dimensions
- Height: 8 cm (3.15 inches)
- Width: 6 cm (2.36 inches) at widest point
- Egg Shell Diameter: 5.5 cm (2.17 inches)
🔤 Stitch Guide for Free Amigurumi Hatching Chick Pattern
| Abbreviation | Stitch Name |
|---|---|
| ch | Chain |
| sc | Single crochet |
| inc | Increase (2 sc in same stitch) |
| dec | Invisible decrease |
| sl st | Slip stitch |
| MR | Magic ring |
| st(s) | Stitch(es) |
| rnd | Round |
| ( ) | Repeat instructions in parentheses |
| [ ] | Total stitch count |
Special Notes for Plush Yarn:
Working with plush yarns like chenille can be a unique experience. Here are a few tips to ensure your project goes smoothly and your little chick turns out perfectly soft and cuddly:
- Chenille yarn can split easily – work slowly and gently
- Stitches may be harder to see – use a stitch marker after every round
- Stuff firmly but not overly tight to maintain soft, cuddly texture
- If stitches are too loose, go down a hook size to 3.0 mm
Free Amigurumi Hatching Chick Pattern Instructions
Part 1: Chick Head & Body (Bright Yellow Chenille)
- Rnd 1: 6 sc in MR [6]
- Rnd 2: inc x 6 [12]
- Rnd 3: (sc, inc) x 6 [18]
- Rnd 4: (2 sc, inc) x 6 [24]
- Rnd 5: (3 sc, inc) x 6 [30]
- Rnd 6-10: sc in each st [30] (5 rounds)
Insert safety eyes between rounds 7 and 8, approximately 5-6 stitches apart
- Rnd 11: (3 sc, dec) x 6 [24]
- Rnd 12: (2 sc, dec) x 6 [18]
Begin stuffing the head firmly
- Rnd 13: (sc, dec) x 6 [12]
- Rnd 14: dec x 6 [6]
Fasten off, leaving a long tail. Thread through remaining stitches and pull tight to close. Weave in end.
Part 2: Free Amigurumi Hatching Chick Pattern Beak
- Rnd 1: 4 sc in MR [4]
- Rnd 2: (sc, inc) x 2 [6]
Fasten off, leaving a long tail for sewing. Lightly stuff if desired (optional). Sew centered between the eyes.
Part 3: Two Small Head Tufts
Make 2 identical pieces:
- Rnd 1: 4 sc in MR [4]
- Rnd 2: sc in each st [4]
Fasten off, leaving a long tail. Do NOT stuff. Flatten slightly and sew to top of head, spacing them about 2-3 stitches apart.
Part 4: Egg Shell – Bottom Half (White Chenille)
- Rnd 1: 6 sc in MR [6]
- Rnd 2: inc x 6 [12]
- Rnd 3: (sc, inc) x 6 [18]
- Rnd 4: (2 sc, inc) x 6 [24]
- Rnd 5: (3 sc, inc) x 6 [30]
- Rnd 6-8: sc in each st [30] (3 rounds)
- Rnd 9 (Zigzag Edge): ch 2, skip 1 st, sl st in next st – repeat around to create jagged cracked egg edge
Fasten off. Stuff bottom of shell lightly to hold shape.
Part 5: Egg Shell – Top Half (White Chenille)
- Rnd 1: 6 sc in MR [6]
- Rnd 2: inc x 6 [12]
- Rnd 3: (sc, inc) x 6 [18]
- Rnd 4: (2 sc, inc) x 6 [24]
- Rnd 5: sc in each st [24]
- Rnd 6 (Zigzag Edge): ch 2, skip 1 st, sl st in next st – repeat around
Fasten off. Do NOT stuff – this piece should remain open and flat.
Assembly Instructions
Bringing your hatching chick to life is the final, exciting step. Follow these instructions to assemble your adorable amigurumi:
- Attach chick to bottom shell: Position the chick’s body inside the bottom egg shell half, with about 1/3 of the chick visible above the jagged edge. Sew securely around the base using white yarn.
- Position top shell piece: Place the top egg shell piece behind/ beside the chick at an angle as if it just cracked open. Sew to the bottom shell at one connecting point only, allowing it to tilt naturally.
- Optional stabilization: If the top shell piece won’t stay in position, add a small piece of white felt or thin cardboard inside for structure.
- Final touches: Weave in all remaining ends. Shape and adjust the positioning for a natural “hatching” look.
Color Variations & Customization
One of the joys of crochet is making a pattern truly your own! Here are some ideas for customizing your hatching chick:
- Easter Pastel Version: Use baby pink, lavender, or mint green for the chick for a softer, spring-inspired look.
- Brown Egg: Replace the white shell with tan or beige chenille to mimic a natural farm egg.
- Blue Robin Chick: Use sky blue for the chick with a white belly for a unique bird variation.
- Duckling: Add an orange beak and flatten the head bumps to transform your chick into a sweet duckling!
Pro Tips for Working with Chenille Yarn
Chenille yarn adds incredible softness to your amigurumi, but it comes with its own quirks. Keep these expert tips in mind for the best results:
- Keep tension consistent – Chenille stretches easily, so try to maintain an even tension throughout your work.
- Use stitch markers religiously – The fuzzy texture of chenille can hide stitches, making stitch markers essential after every round.
- Don’t over-stuff – Let the plush yarn create natural softness. Over-stuffing can distort the shape and make the stitches gape.
- Secure eyes extra firmly – Chenille can loosen over time, so ensure your safety eyes are very securely attached.
- Work in good lighting – This makes stitch counting much easier and helps you see your stitches clearly.

Frequently Asked Questions
If you find your stitches are too loose and stuffing shows through, try going down a hook size. For this pattern, if 3.5 mm is too loose, switch to a 3.0 mm hook for a tighter fabric.
Stuff the head and body firmly enough to hold its shape, but not overly tight. This helps maintain the soft, cuddly texture characteristic of plush yarn and prevents the stitches from stretching excessively.
Absolutely! If you prefer not to use safety eyes, especially for toys for very young children, you can embroider the eyes using black embroidery thread. This gives a softer finish and is generally considered safer.
To achieve that natural “just cracked open” look, position the top shell piece behind or beside the chick at a slight angle. Sew it to the bottom shell at just one connecting point, allowing it to tilt naturally. You can add a small piece of felt or cardboard inside for extra stability if needed.
Conclusion
Congratulations, fellow maker! You’ve just created a charming little Amigurumi Hatching Chick, a testament to your creativity and skill. Whether this is your first amigurumi or your hundredth, each stitch woven with care brings a piece of art to life. We hope you enjoyed this beginner-friendly pattern and found joy in the process. Don’t stop here – explore new colors, experiment with different yarns, and let your imagination take flight. Happy crocheting!