
Table of contents
- Image Analysis & Design Breakdown
- Materials & Tools
- Stitch Abbreviations (US Terms)
- Pattern Construction Overview
- Part 1 – Top Lobes (Make 2)
- Part 2 – Joining the Lobes
- Part 3 – Heart Body
- Face Details
- Final Assembly & Shaping
- Display & Photography Tips
- Skill Level
- Perfect For Selling Online
- Frequently Asked Questions
- You’ll Love Also This
There’s something truly magical about crafting a gift with your own hands, especially when it comes from the heart – literally! This Kawaii Red Heart Amigurumi pattern isn’t just a project; it’s an opportunity to infuse a bit of your soul into a delightful, squishy creation. Whether you’re making a special Valentine’s Day surprise, a charming addition to a nursery, or simply a sweet friend for yourself, this pattern guides you to perfection, ensuring your finished heart looks just as vibrant and lovable as the original design.
Image Analysis & Design Breakdown
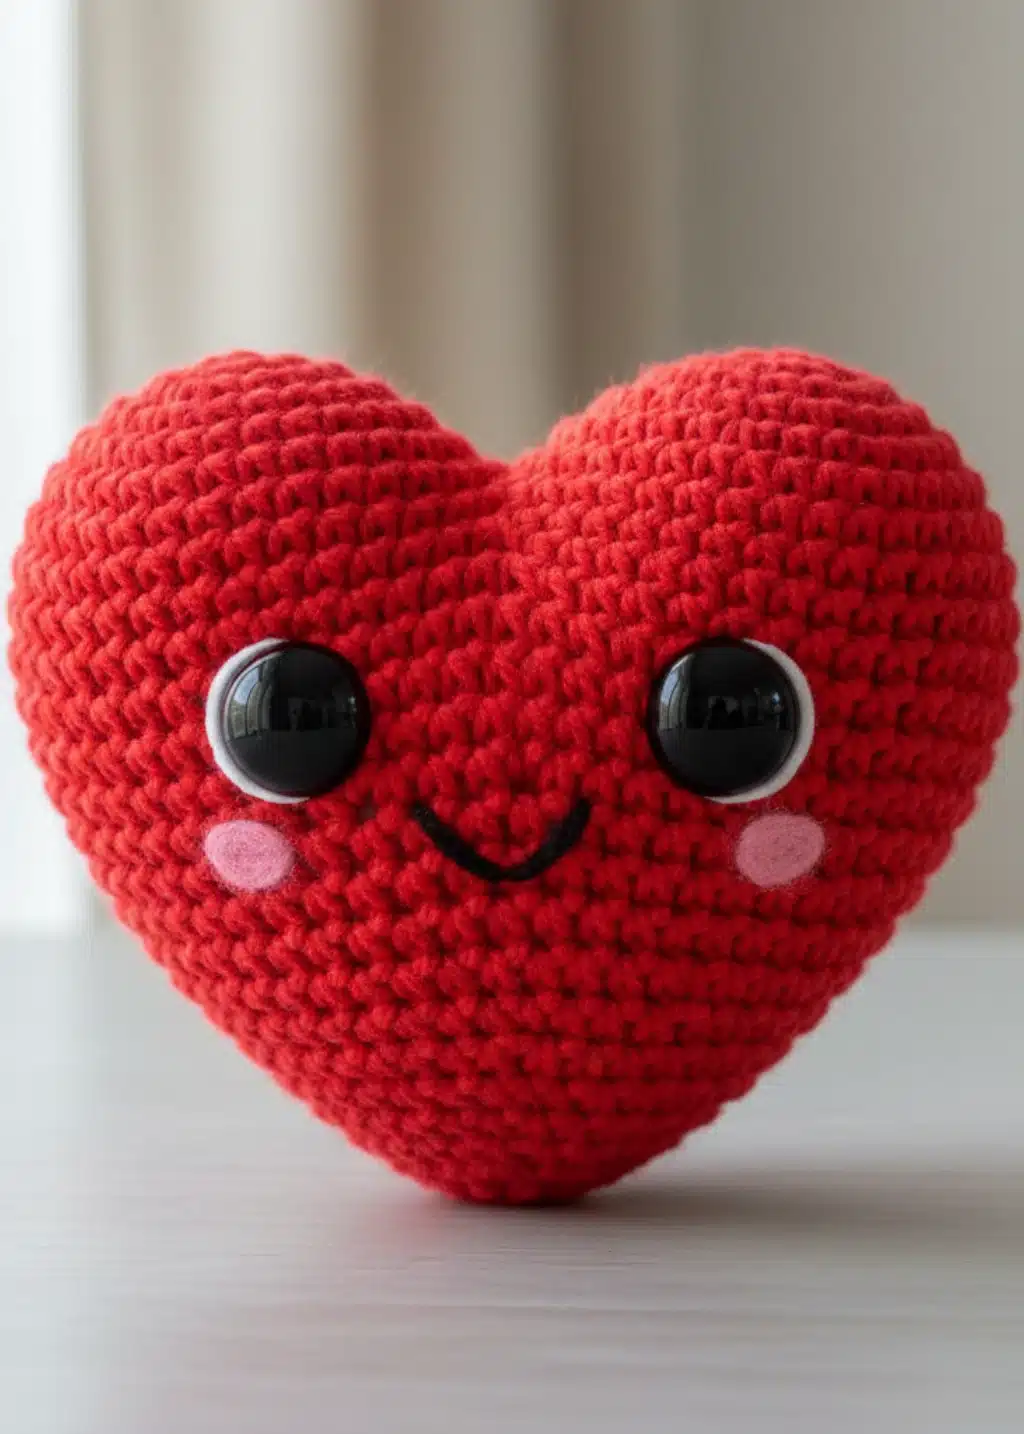
Before we pick up our hooks, let’s take a moment to appreciate the charming details that make this Kawaii Red Heart so special. Understanding the design elements will help you visualize your finished piece and ensure you capture its adorable essence.
Colors Used
- Main Body: Bright Cherry Red (DK / Medium Weight Yarn)
- Eyes: Glossy Black Safety Eyes with White Backing
- Cheeks: Soft Pastel Pink (Felt or Embroidery Yarn)
- Mouth: Black Embroidery Thread
Shape & Proportions
- Symmetrical 3D heart shape
- Two rounded top lobes
- Soft pointed bottom tip
- Eyes centered horizontally
- Mouth positioned slightly below the eye line
- Cheeks placed outside and slightly under each eye
Finished Size
- Height: 13 cm / 5.1 in
- Width: 14 cm / 5.5 in
- Depth: 8 cm / 3.1 in
Materials & Tools
Gathering your supplies is the first exciting step on your crafting journey! Here’s everything you’ll need to bring your Kawaii Red Heart to life.
Yarn
- Red Yarn (DK / 3 Weight) – 100g
- Black Embroidery Thread
- Light Pink Felt or Light Pink Yarn
Tools
- Crochet Hook: 2.5mm – 3.0mm
- 12mm Safety Eyes (2 pcs)
- Polyester Fiberfill Stuffing
- Yarn Needle
- Scissors
- Stitch Marker
- Fabric Glue or Hot Glue (for cheeks)
Stitch Abbreviations (US Terms)
| Abbreviation | Meaning |
|---|---|
| MR | Magic Ring |
| sc | Single Crochet |
| inc | Increase (2 sc in same stitch) |
| dec | Invisible Decrease |
| sl st | Slip Stitch |
| ch | Chain |
| FO | Fasten Off |
Pattern Construction Overview
This adorable heart comes together in three logical stages, building from the top lobes down to the final charming facial details. You’ll be amazed at how seamlessly it all connects!
- Two rounded top lobes
- A seamless joined body
- Facial details and final shaping
Part 1 – Top Lobes (Make 2)
We’ll start by creating the two distinct rounded ‘lobes’ that form the top of our heart. Remember to only fasten off the first one!
Round 1: MR 6 sc (6)
Round 2: inc in all stitches (12)
Round 3: (1 sc, inc) ×6 (18)
Round 4: (2 sc, inc) ×6 (24)
Round 5: (3 sc, inc) ×6 (30)
Round 6– 8: sc around (30)
Fasten off the first lobe only
Leave the second lobe on the hook
Part 2 – Joining the Lobes
Now for the magic moment where our two lobes become one! This section connects them seamlessly to begin forming the full heart shape.
With the second lobe still on the hook:
- Chain 4
- Join to the first lobe with sc
- sc around the first lobe (30)
- sc across chain stitches (4)
- sc around the second lobe (30)
- sc across chain stitches (4)
Total: 68 stitches
Part 3 – Heart Body
With the lobes joined, we’ll continue working in rounds, gradually decreasing to form the iconic point of the heart. This is also where our little friend will start to get its eyes!
Round 1: sc around (68)
Round 2: (15 sc, dec) ×4 (64)
Round 3: (14 sc, dec) ×4 (60)
Round 4: (13 sc, dec) ×4 (56)
Round 5: (12 sc, dec) ×4 (52)
Round 6: (11 sc, dec) ×4 (48)
Round 7: (10 sc, dec) ×4 (44)
Round 8: (9 sc, dec) ×4 (40)
Round 9: (8 sc, dec) ×4 (36)
Round 10: (7 sc, dec) ×4 (32)
Round 11: (6 sc, dec) ×4 (28)
Round 12: (5 sc, dec) ×4 (24)
Eye Placement
This is where your heart truly starts to get its personality! Carefully place the safety eyes as directed to capture that signature Kawaii look.
- Insert safety eyes between Rounds 6– 7
- Space them 10 stitches apart
Begin stuffing firmly but softly
Round 13: (4 sc, dec) ×4 (20)
Round 14: (3 sc, dec) ×4 (16)
Round 15: (2 sc, dec) ×4 (12)
Round 16: dec ×6 (6)
Fasten off and close the opening
Face Details
Adding the facial features is like giving your heart a voice! These small details make all the difference in bringing out its adorable charm.
Mouth
A sweet little smile completes the look!
- Use black embroidery thread
- Stitch a small curved smile
- Position it 2 rows below the eye line
Cheeks
These rosy cheeks add an extra touch of cuteness and Kawaii appeal.
- Cut two small oval shapes from pink felt
- Or embroider light pink circles
- Place slightly below and outside each eye
Final Assembly & Shaping
You’re almost there! A little final shaping and tidying up will ensure your heart is perfect and ready for display.
- Gently shape the heart using your hands
- Make sure the top lobes are evenly rounded
- Adjust stuffing to keep the bottom tip soft
- Secure all loose yarn ends inside the body
Display & Photography Tips
If you plan to share your beautiful creation online or give it as a gift, presenting it well can truly make it shine. Here are a few tips to capture its best side:
- Use a clean white or beige background
- Soft natural window light
- Portrait mode for soft shadows
- Center the heart in frame
Skill Level
Whether you’re new to crochet or looking for a relaxing, satisfying project, this pattern is designed with you in mind!
This pattern is wonderfully accessible for beginners, guiding you through each step with clarity. More experienced crocheters will appreciate its straightforward design, perfect for a quick and rewarding make that yields clean, professional results ideal for gifting or showcasing.
Perfect For Selling Online
Thinking about sharing your craft with the world? This Kawaii Red Heart makes an excellent product!
This Kawaii Red Heart pattern is not just for personal enjoyment; it’s also a fantastic design if you’re looking to expand your offerings. The finished amigurumi makes an excellent item for online shops, and the pattern itself can even be offered as a digital download!
Frequently Asked Questions
We recommend using DK (Double Knitting) or a 3-weight yarn for the main body. This weight provides a lovely balance between softness and structure, creating a huggable yet firm heart. A 100g skein of red yarn should be sufficient for one project.
Absolutely! This pattern is designed to be beginner-friendly. While it introduces techniques like magic rings, single crochet, increases, and invisible decreases, each step is straightforward. Take your time, and don’t hesitate to refer to online tutorials for any stitches you’re unfamiliar with.
The key to symmetry lies in consistent tension and accurate stitch counts. Pay close attention when joining the two top lobes and during the decrease rounds of the main body. Stuffing evenly and shaping gently at the end will also help achieve that perfectly rounded, symmetrical look.
If you prefer not to use safety eyes, you can embroider the eyes using black embroidery thread or even small pieces of black felt securely glued on. Just ensure whatever alternative you choose is safe, especially if the heart is for a child.
Once you’ve completed your Kawaii Red Heart, take a moment to admire your handiwork. Each stitch tells a story of patience, creativity, and love. Whether it finds a home as a cherished gift, a festive decoration, or a comforting companion, your handmade heart is truly special. Happy crocheting, and may your creative journey continue to bring joy!