Table of contents
- Materials You’ll Need for the Little Penguin Amigurumi Pattern
- Stitches Used in the Little Penguin Amigurumi Pattern
- Gauge for the Little Penguin Amigurumi Pattern
- Little Penguin Amigurumi Pattern Instructions
- Finishing Touches
- Frequently Asked Questions
- Your Handmade Journey Continues!
- You’ll Love Also This
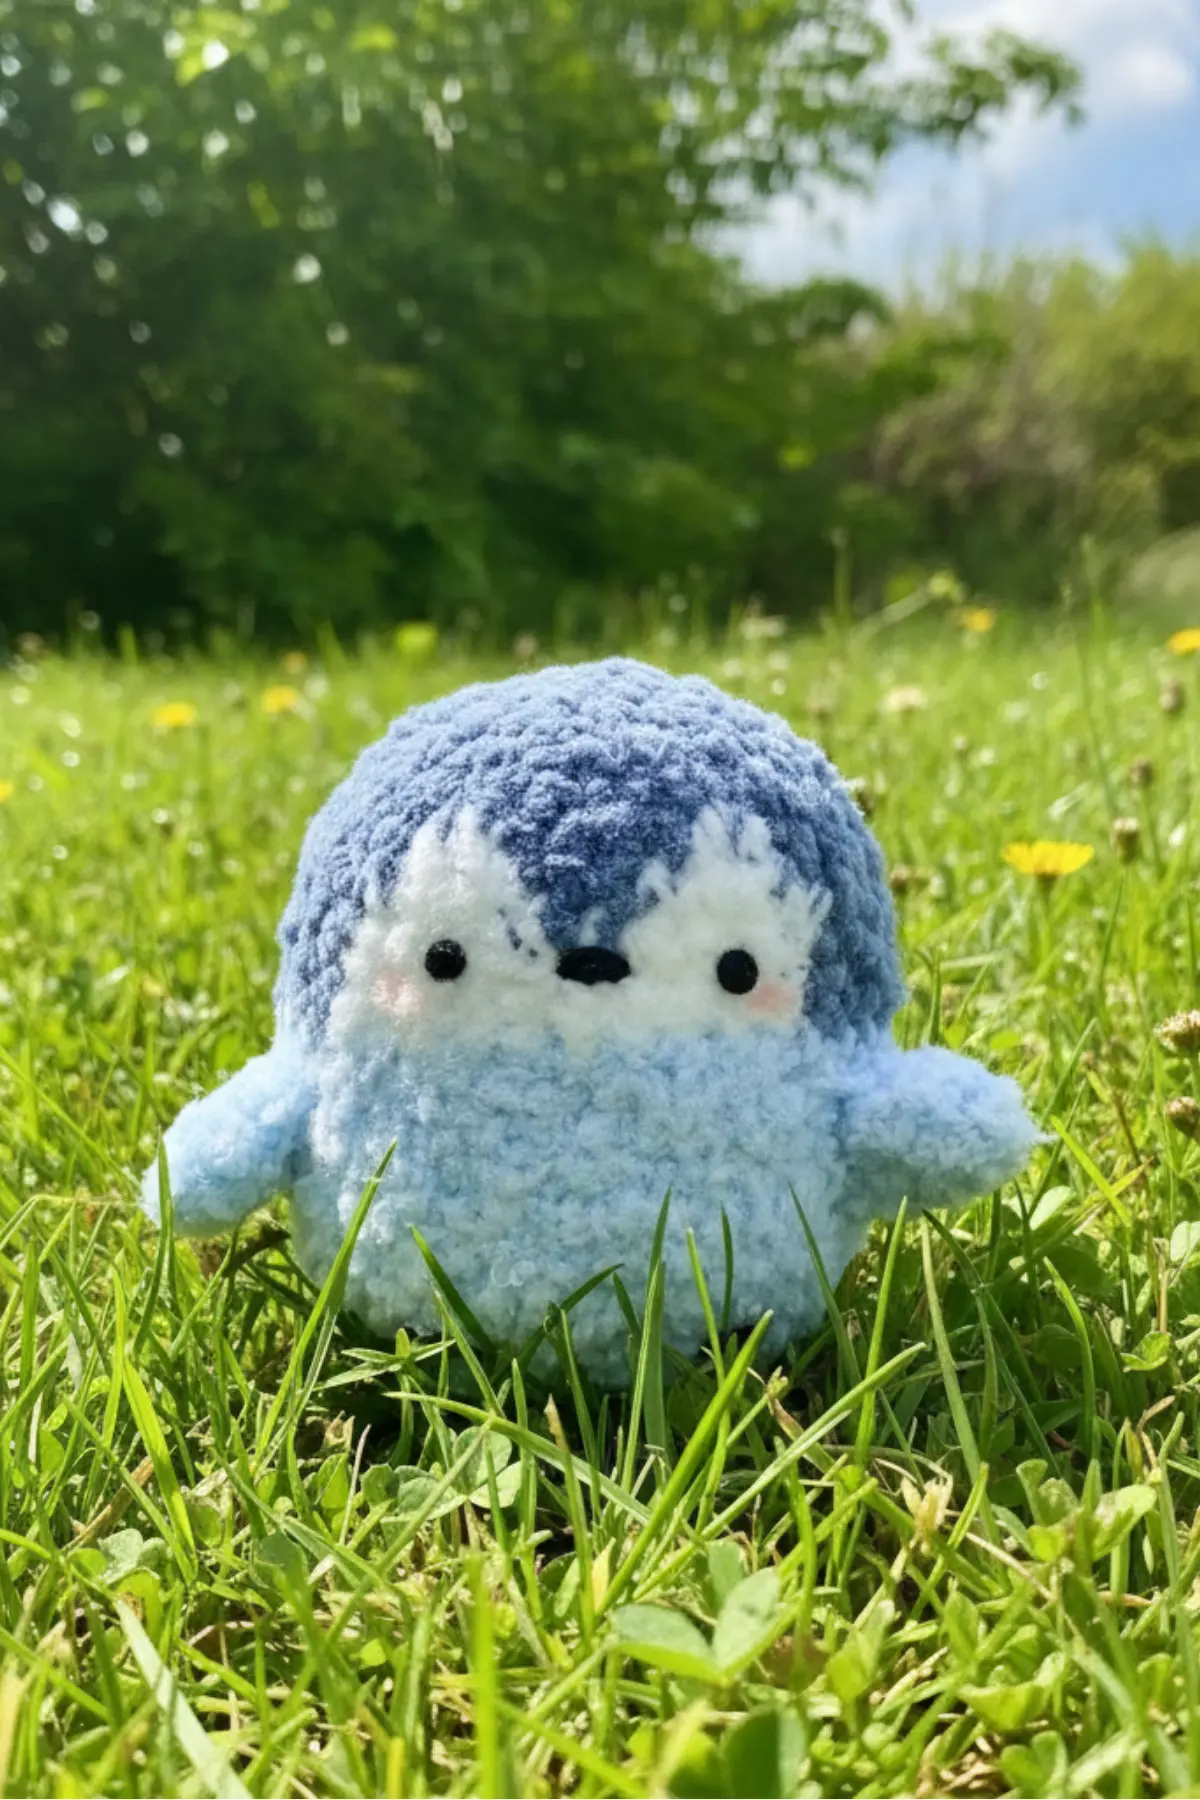
Imagine a tiny, round friend with the sweetest expression, ready to waddle into your heart or perch on your desk. This delightful Little Penguin Amigurumi Pattern is perfect for anyone who loves creating cute and huggable crochet toys. Designed as a free and easy project, this little penguin amigurumi features charming details and an optional tiny bag. Whether you are making this Little Penguin Amigurumi Pattern as a handmade gift or for your own collection, this beginner-friendly crochet pattern promises a joyful and relaxing crafting experience.
Materials You’ll Need for the Little Penguin Amigurumi Pattern
To bring your adorable penguin to life, gather the following supplies:
- Xiaokawaii / Xiaopicao (or similar plush yarn) in:
- Dark color for the head and body. (e.g., black or dark grey)
- Light color for the body and arms. (e.g., white or cream)
- White yarn for the lower eye-marking part of the head.
- Milk cotton yarn for the small bag (any contrasting color).
- Safety eyes (5–6 mm).
- Fiberfill for stuffing.
- Crochet hook (size appropriate for your chosen yarn, typically 3.0mm-4.0mm for plush yarn).
- Yarn needle for sewing.
- Scissors.
Stitches Used in the Little Penguin Amigurumi Pattern
Familiarize yourself with these common crochet abbreviations before you begin:
- Ch = chain
- Sl st = slip stitch
- X = single crochet (sc)
- V = increase (sc2tog in same stitch)
- A = decrease (sc2tog)
- T = half double crochet (hdc)
- F = double crochet (dc)
- E = treble crochet (tr)
- = work stitches in the same stitch
Gauge for the Little Penguin Amigurumi Pattern
Gauge is not critical for this project, but aim for tight stitches to prevent stuffing from showing through. If your stitches are too loose, try using a smaller hook.
Little Penguin Amigurumi Pattern Instructions
Let’s begin crocheting your charming little penguin!
Penguin Head – Little Penguin Amigurumi Pattern (dark color yarn)
Change to white yarn for the lower eye- marking part
- R1: Magic ring 6X (6)
- R2: 6V (12)
- R3: (X, V) ×6 (18)
- R4: (X, V, X) ×6 (24)
- R5: (3X, V) ×6 (30)
- R6: (2X, V, 2X) ×6 (36)
- R7: 36X (36)
- R8: 13X, 2V, 4X, 2V, 15X (36)
- R9– 10: 12X, 4V, 2X, 4V, 14X (36)
- R11– 12: 12X, 10X, 14X (36)
Stuff the head with fiberfill, shape slightly by pushing stuffing to the sides.
Continue crocheting directly to the body (do not fasten off).
Penguin Body – Little Penguin Amigurumi Pattern (light color yarn)
- R13– 19: 36X (36)
- Sew feet to the body using black yarn
- R20: (2X, A, 2X) ×6 (30)
- R21: (3X, A) ×6 (24)
- R22: (X, A, X) ×6 (18)
- R23: (X, V) ×6 (12)
- R24: 6A (6)
- Fasten off.
Penguin Arms – Little Penguin Amigurumi Pattern ×2 (light color yarn)
- R1: Magic ring 4X (4)
- R2: (X, V) ×2 (6)
- R3: 6X (6)
- R4: (X, V) ×3 (9)
Do not stuff the arms.
Leave a long tail and sew to the body.
SMALL BAG (milk cotton yarn)
R1: 4Ch, crochet 3X starting from the 2nd chain
R2– 3: 1Ch, 3X
Strap: 44Ch, attach to bag
Finishing Touches
Once all your pieces are crocheted, it’s time to assemble your penguin. Securely sew the arms to the sides of the body. Attach the safety eyes between Rounds 8 and 9 on the head, ensuring they are evenly spaced. Use black yarn to sew on the feet (or embroider small foot shapes if preferred). Finally, attach the strap to the small bag and place it on your penguin. Take a moment to admire your new handmade companion!

Frequently Asked Questions
The pattern recommends Xiaokawaii/Xiaopicao plush yarn for that soft, cuddly feel. However, any worsted weight yarn can be used, just be sure to adjust your hook size and safety eye size accordingly to maintain proportions.
When changing from dark to white yarn for the eye-marking, work the last yarn over of the last stitch of the dark color with the new white yarn. This creates a neat transition. You can also carry the unused yarn color loosely on the inside of your work if you anticipate switching back soon.
The pattern specifically advises *not* to stuff the arms. This helps them lay flat and gives the penguin a more natural, floppy look. Overstuffing can make them too stiff.
Absolutely! The small bag is a simple rectangular piece. You can easily adjust the starting chain for width and the number of rows for height to customize its size. The strap length can also be altered to suit your preference.
Your Handmade Journey Continues!
Congratulations on creating your very own Little Penguin! Every stitch you made is a testament to your dedication and creativity. We hope this pattern brought you joy and a sense of accomplishment. Share your finished penguin with us – we love seeing your unique interpretations and celebrating your crafting journey. Happy crocheting, makers!